
Hodgepodge Progress Post
The weather shifted last week, after a few hours of snow flurries on Saturday, to something a little more consistently spring-like. As in, warm enough to apply epoxy and paint. As in, not dipping to freezing temperatures overnight. As in OH MY GOD IT’S TIME TO SCRAMBLE.
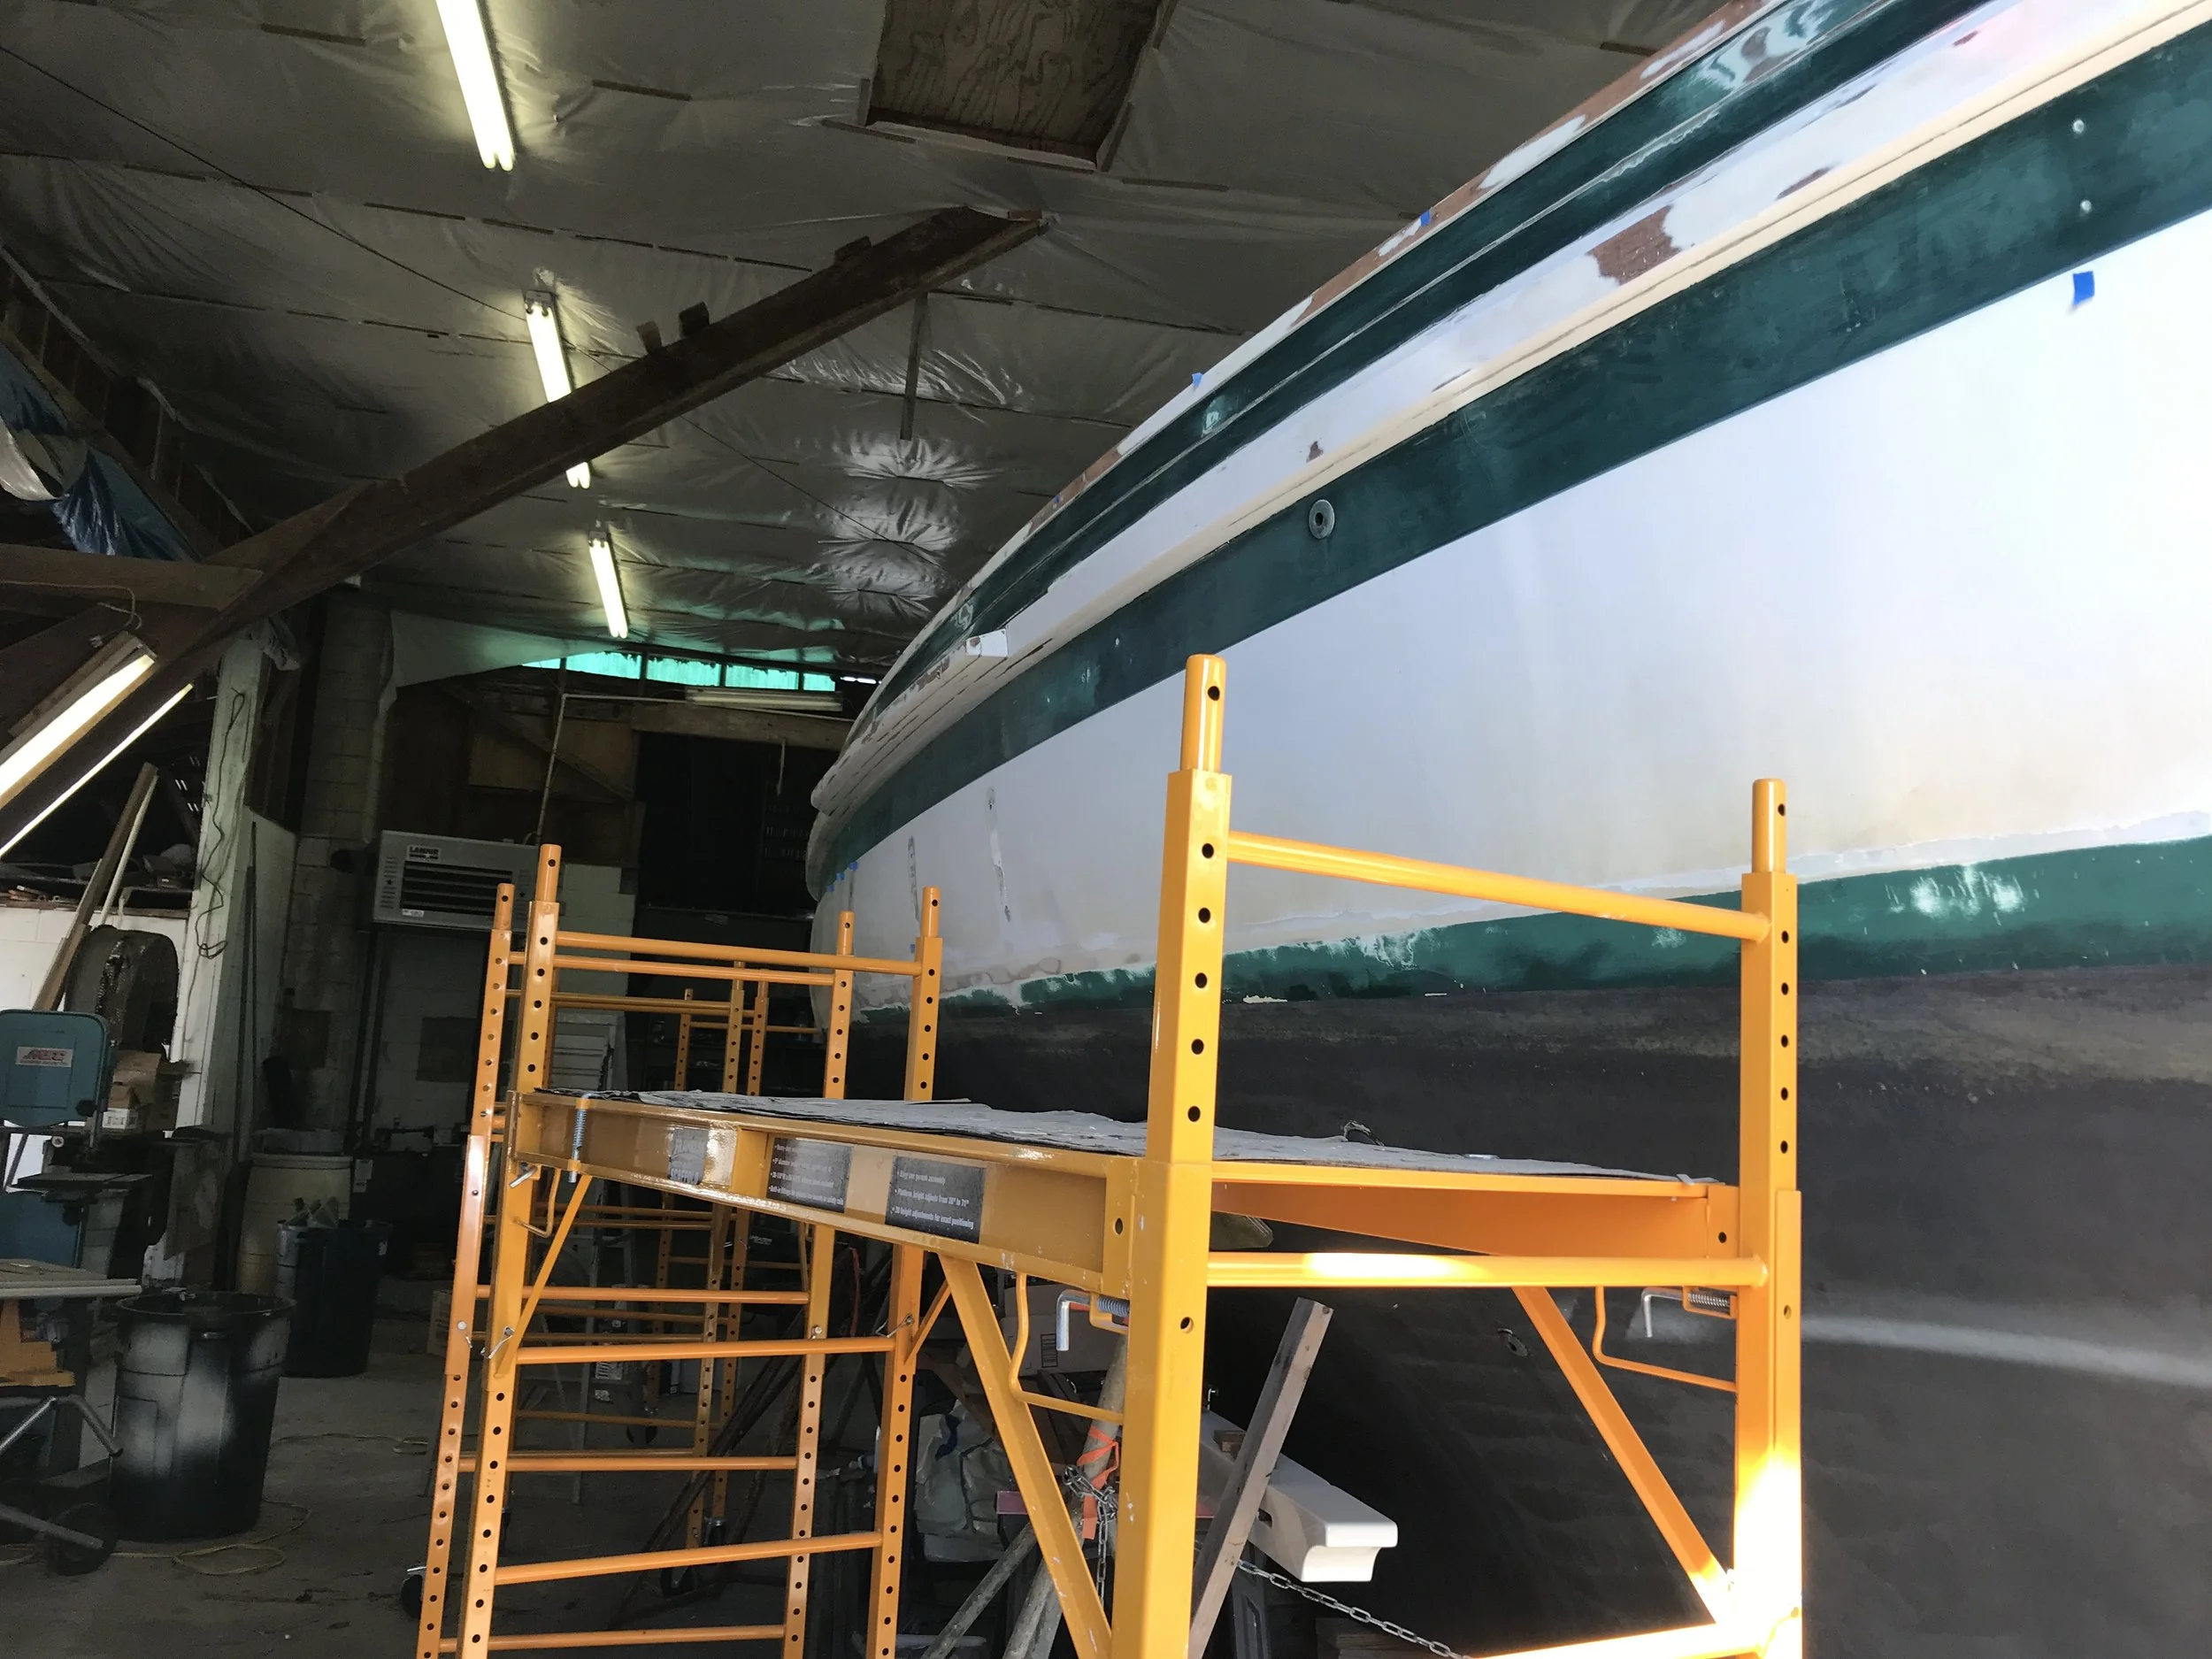
Scaffolding set up around the starboard side
Jeremy spent the better part of last week doing spot epoxy work on the bulwark stanchion posts, filling any cracks. This took a painstakingly long time. Those posts are made of three pieces of wood glued together, and over the years a lot of the glue has started to fail. Many are beginning to split open, even with the fasteners he sunk in crosswise. He opened up the seams a bit and epoxy-filled them. We did decide that if in the future others fail like this, we’ll bite the bullet and replace them. It might have taken less time to do that this time around, except for the fasteners that went from the bulwark into the posts.
Finally, on Friday, we were ready to begin applying the penetrating epoxy to the raw wood.

Smiths CPES. There’s definitely an element of “snake oil” in the verbiage.
Between the new scarfed in planks, the new stanchion posts, and all the places where we sanded off all of the existing paint, there’s a lot of raw wood to be treated. The penetrating epoxy we’re using is a very thin product, almost water-thin, and it soaks into the wood. If you believe even half of the rather eyebrow-raising claims on the containers, it will protect the wood against water ingress and therefore rot. Worth a try anyway.

Side decks (in particular the non-skid) protected
Step 1: protect the side decks. Because the CPES is so thin, it flicks off the brush easily. No dots of epoxy on the non-skid thank you.
Step 2: Go at the raw wood with CPES. The best tool? A tiny metal brush. Which, as you might imagine, took forever.

Successful CPES coat!
The plan had been to just keep going around and around the boat with the CPES. We’ve got a lot of the product, and rather than keeping half-full containers we wanted to use it up. But it takes between 3 and 4 hours to do a single coat. By the time we’d done the first coat, it was 7 pm and we were both just done.
Saturday morning we got the second coat on. Now we let it cook off for a couple of days. Then we’ll sand it, apply a coat of West System epoxy, sand THAT, and hopefully be ready to prime.
The good thing is that we’re tackling the most fiddly part of the boat first. When we get to the green stripe and then the hull and cabin sides, it’ll feel like a piece of cake!
Of course, that’s not all that’s been going on. I’ve sanded and applied one coat of varnish on much of the interior woodwork. Jeremy’s faired the hull, using fairing filler on all scratches and dings. He’s also made a tool for removing the glass from the portlights and successfully extricated the glass from 2 of the 8 ports we have on Calypso (there are another 6 on Mischief which also need the same treatment).

New glass extrication tool, check.
We’re deciding on blocks for the mainsheet system, are circling in on a possible source for the bronze t-track we need for the staysail, and have identified where we can get replacement bronze bolts for the stem fitting ($42 EACH plus shipping - ouch!).
The longer days are welcome. We’ve got a move out date scheduled for the house, though whether we can move aboard or not is up in the air. We’ve got to finish painting before we can reinstall the interior; we need to reinstall the interior before we can move aboard.
I guess if worse comes to worse we can just live in the car.

Car sleeping back when COVID first started. We were on the way to pick up Bee.