
Bulwark Before and Afters
While it can be depressing to take photos of the state of things before you start doing work, it can be ridiculously motivating when you’re farther along and see exactly why you’re working so hard. It’s a great boost to morale.
One of the major reasons we’re inside the shed this winter is for rot repair on bulwarks. Being able to do woodwork without worrying about precipitation has been incredible. Yes, we’ve built winter covers before but they’re not remotely the same as having a real roof overhead. And though the shed is not insulated, the doors can be closed AND we’ve got access to a rocket launcher of a heater that we can fire up to take the edge off of the cold.

Mr Heater, all fired up
The worst rot on Calypso was in the bulwarks at the beam hawseholes. Bulwarks are kind of like high wooden toerails. The beam (middle of the boat) hawseholes are bronze oval fittings that allow for docklines and such to come through to the cleat that’s directly inboard of the fittings. These hawseholes are fastened through a beefy backing block that takes up the entire space between the stanchion posts.
When we first bought the boat, Mike was in the process of totally redoing all the original exterior wood, including these structures. The bulwarks are made of 2 pieces of laminated mahogany, the block for the hawseholes are made of 2 pieces of laminated mahogany, and the stanchion posts are 3 pieces of laminated mahogany. That’s a lot of seams, and a LOT of fastener holes, all of which are susceptible to water ingress. Water ingress that’s trapped with nowhere to go? Means rot.
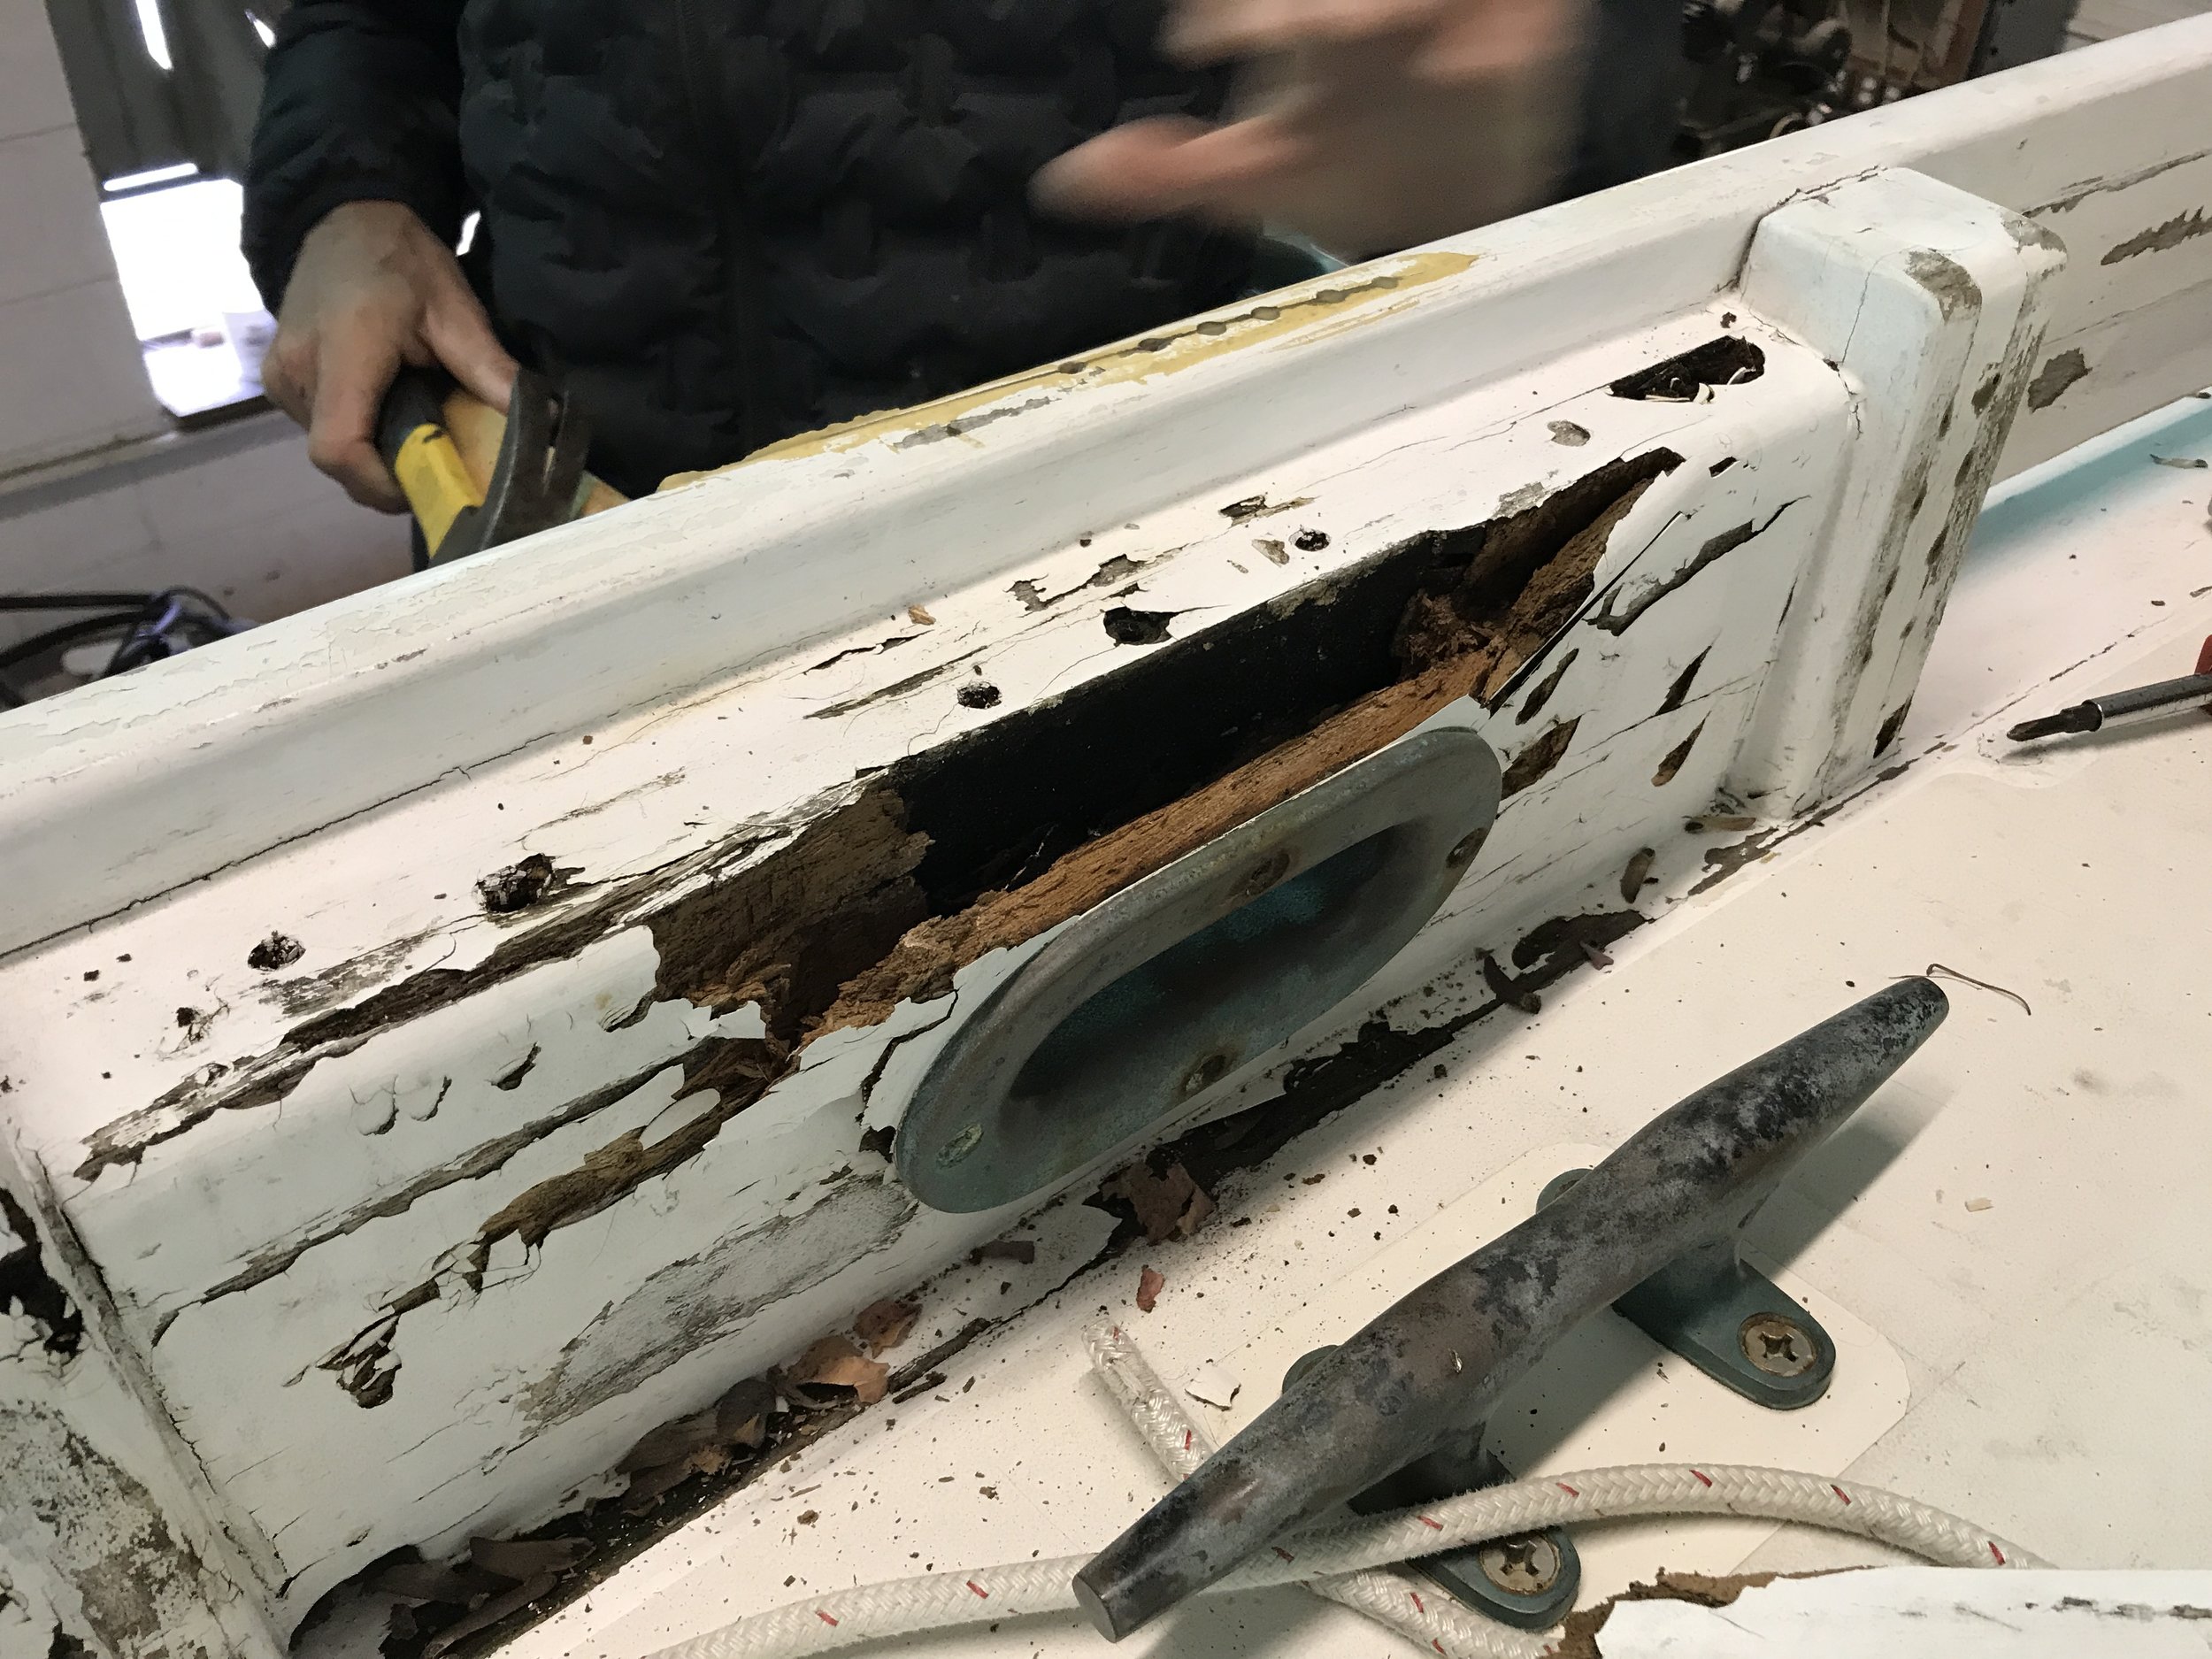
Soft, spongy, rotten wood.
First step was removing the bronze fitting. Then removing all the rotten wood, including where the rot had traveled to the underlying covering board as well as parts of the bulwark plank, plus the 2 stanchion posts. This was made more difficult by all the fasteners (on the port side there were 22!) which all had to be removed even as the wood around them was crumbling.

Count the fastener holes!
Jeremy replaced the covering board. Cut in scarf joints (long angled runs where the old and new wood are joined). Built new stanchion posts. Built a new backing board. And installed it all.

New stanchion posts and backing block. Over new covering board.
Just for good measure, here’s the space from the outside looking in.
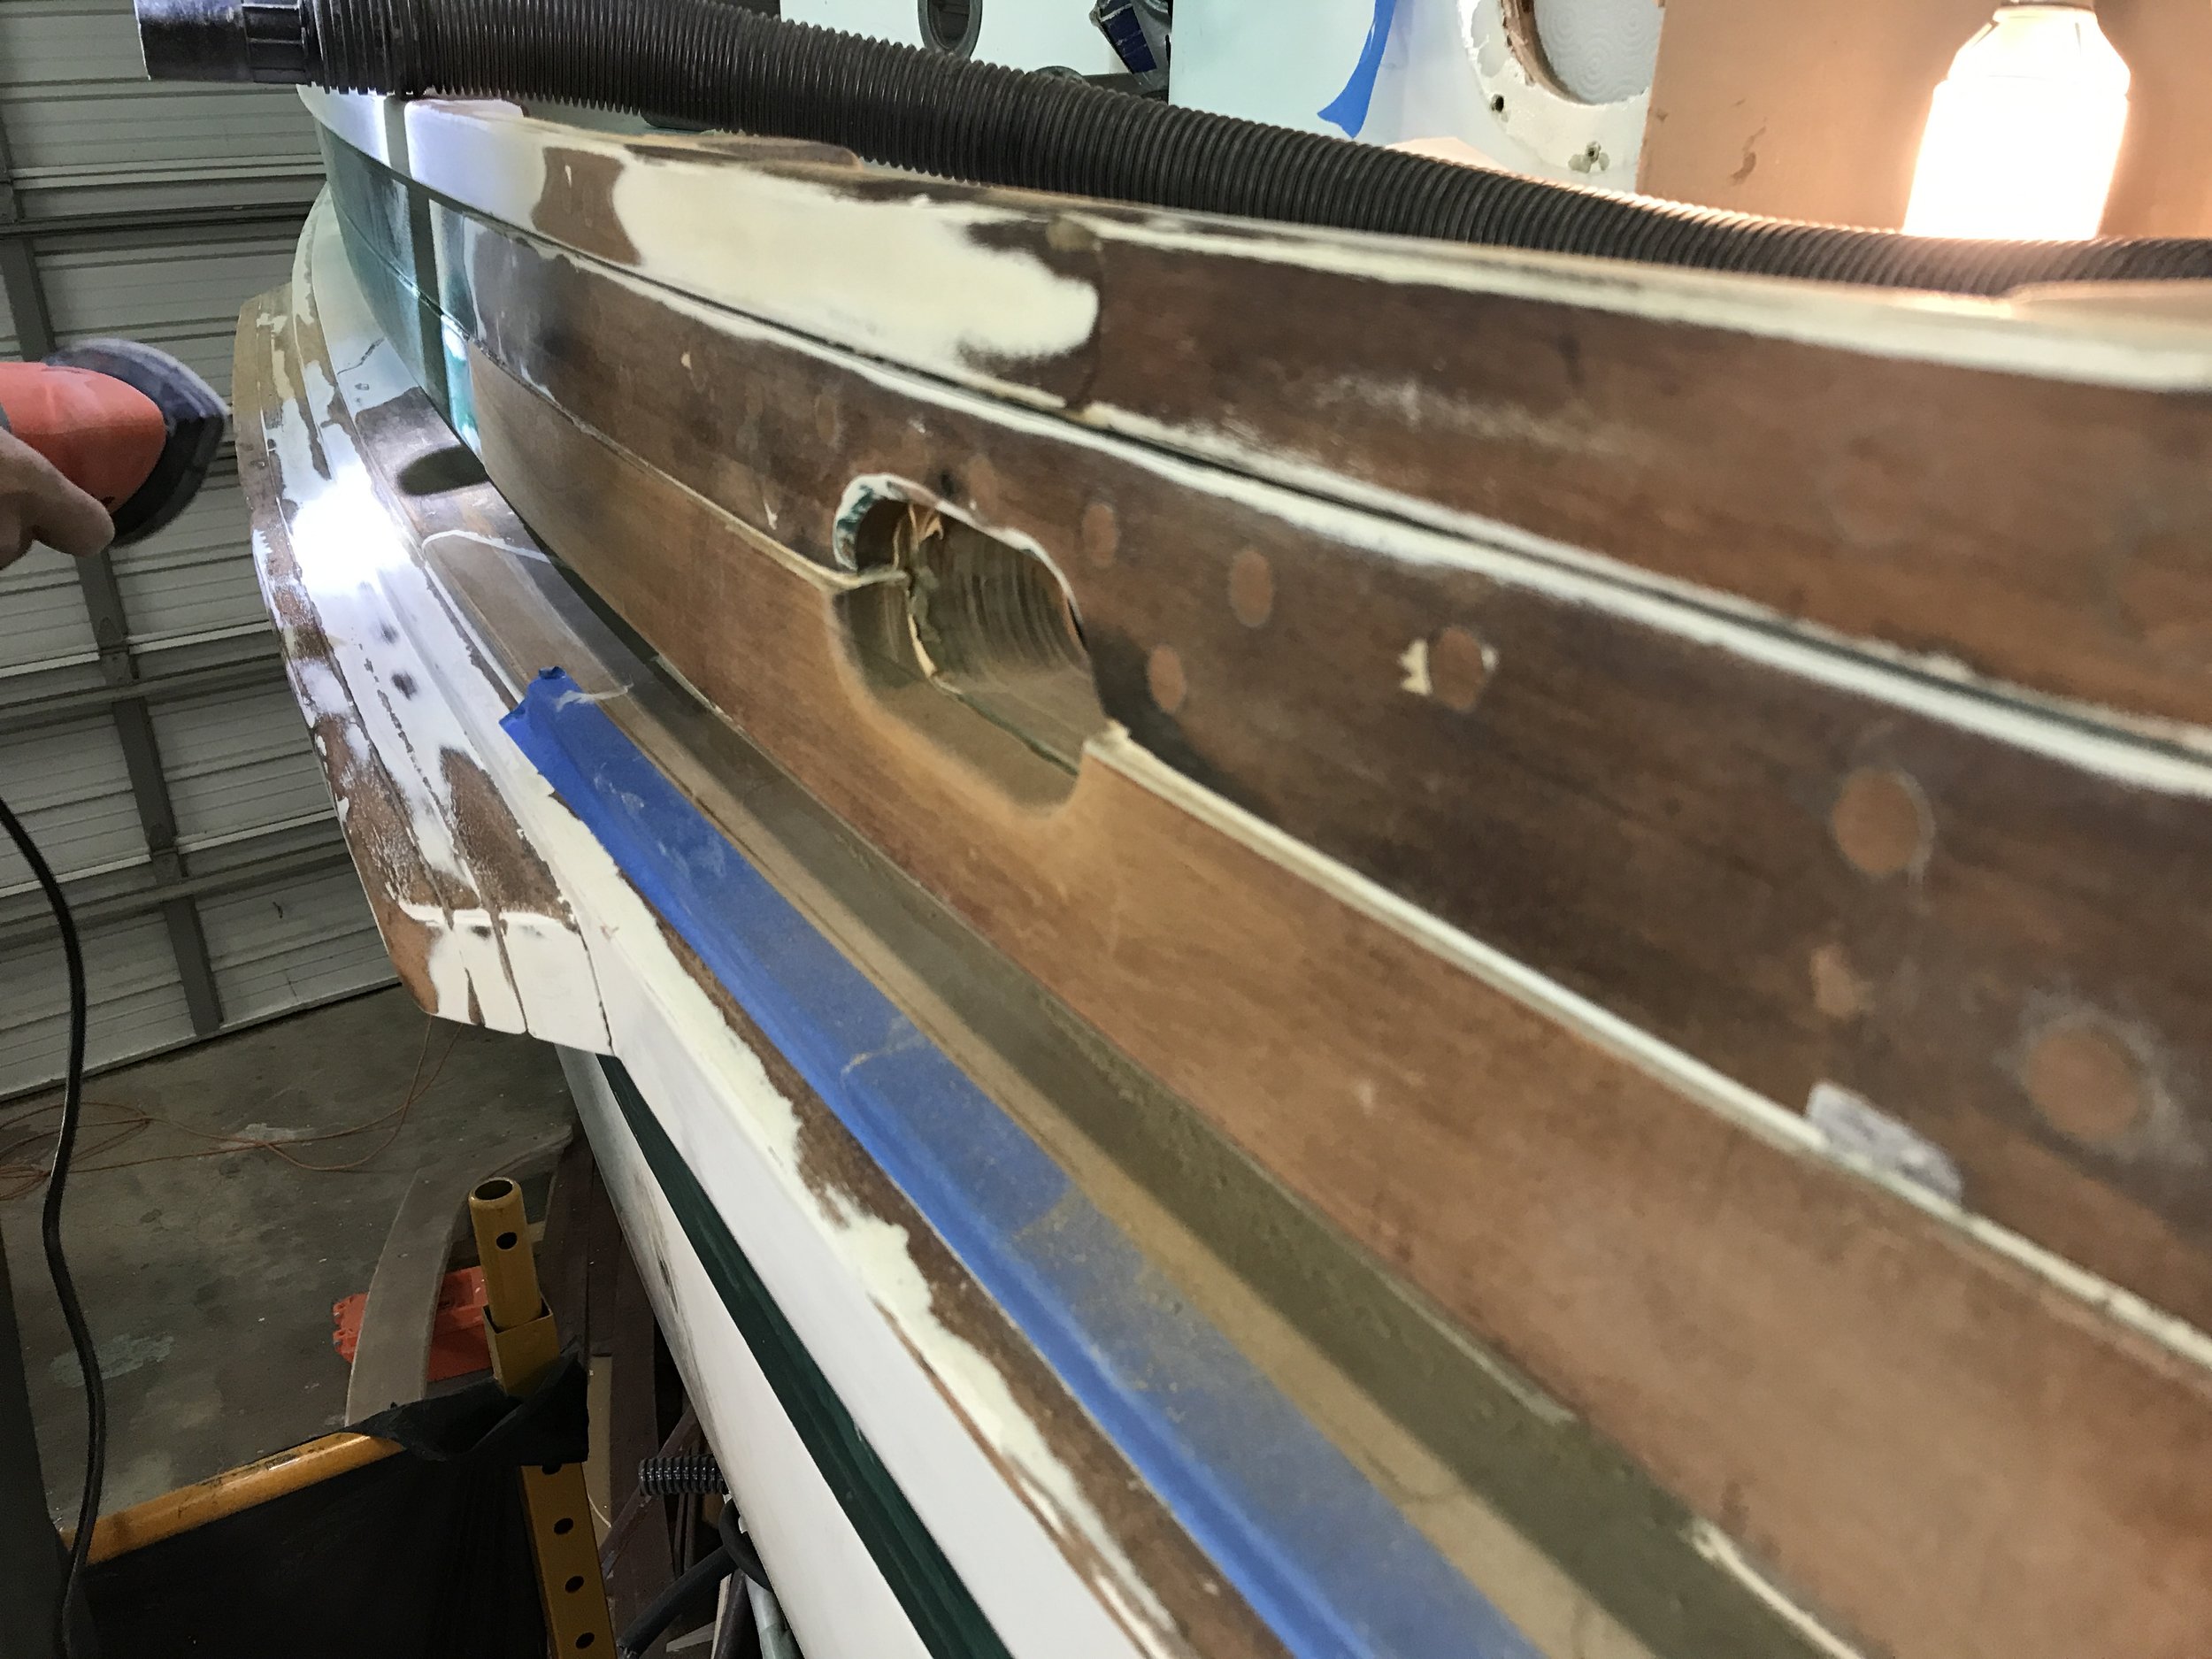
New covering board also visible.
We’ll put penetrating epoxy on all the raw wood before priming and painting. It looks like the weather is finally starting to be warm enough to tackle that part of the work!