
The Hatch Project
(Quick update on the “Must Be Done To Launch” list: it’s all done. Anchor locker, painted. Engine, test fired. Prop, installed. Trim tab, painted. Yep, all done.)
We’re still living on a ladder. Er, not really. We’re mooching enjoying the generous hospitality of good friends. The boat is still on the hard, with 2 more big projects in progress to go. We’re planning on splashing this week. I promise. Really.

Main is on!
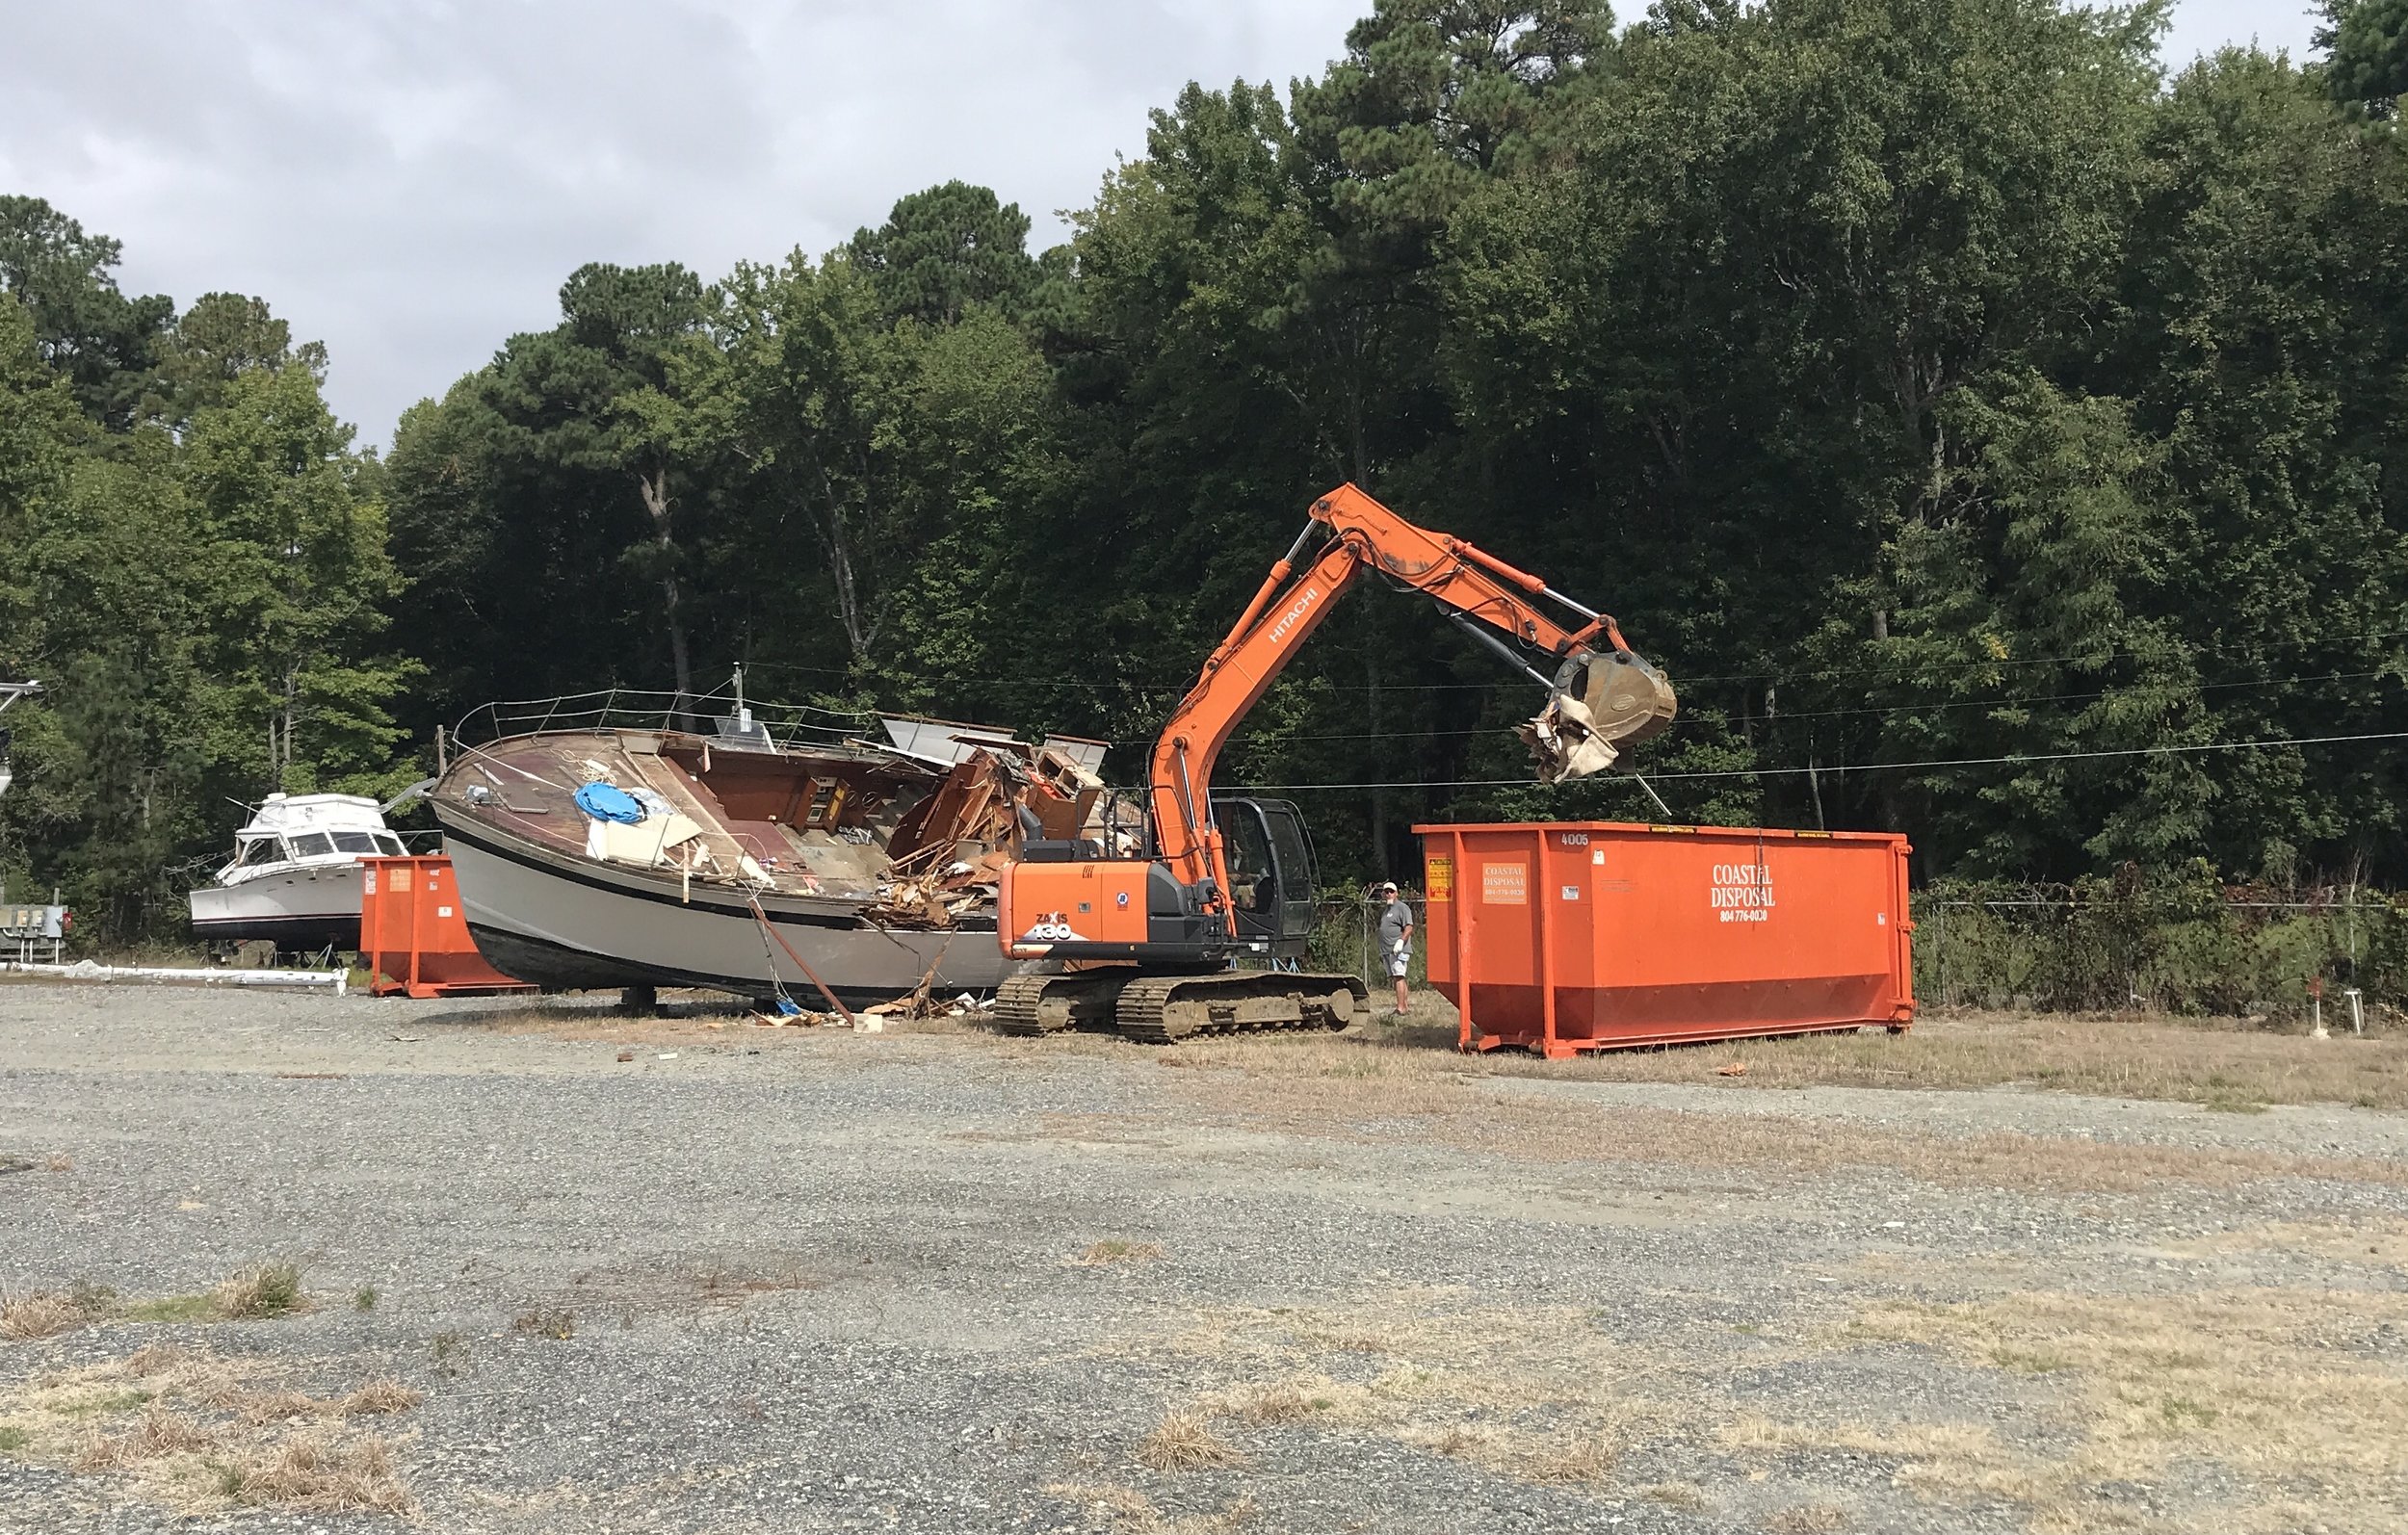
Hatch project. Oh, wait. No. This was the boatyard entertainment on September 16.
Calypso’s forward hatch has long been a source of pretty good water ingress when we’re in any kind of a seaway. We’ve tried a few fixes over the years, including weather stripping and even taping the hatch closed. I think we’d just resigned ourselves to the fact that this is a design flaw with nothing to be done about it.
Our winter on Mischief proved to be enlightening. Despite lots of pretty good vigorous sailing, we had almost zero water intrusion through her forward hatch. What’s different?
Teak.

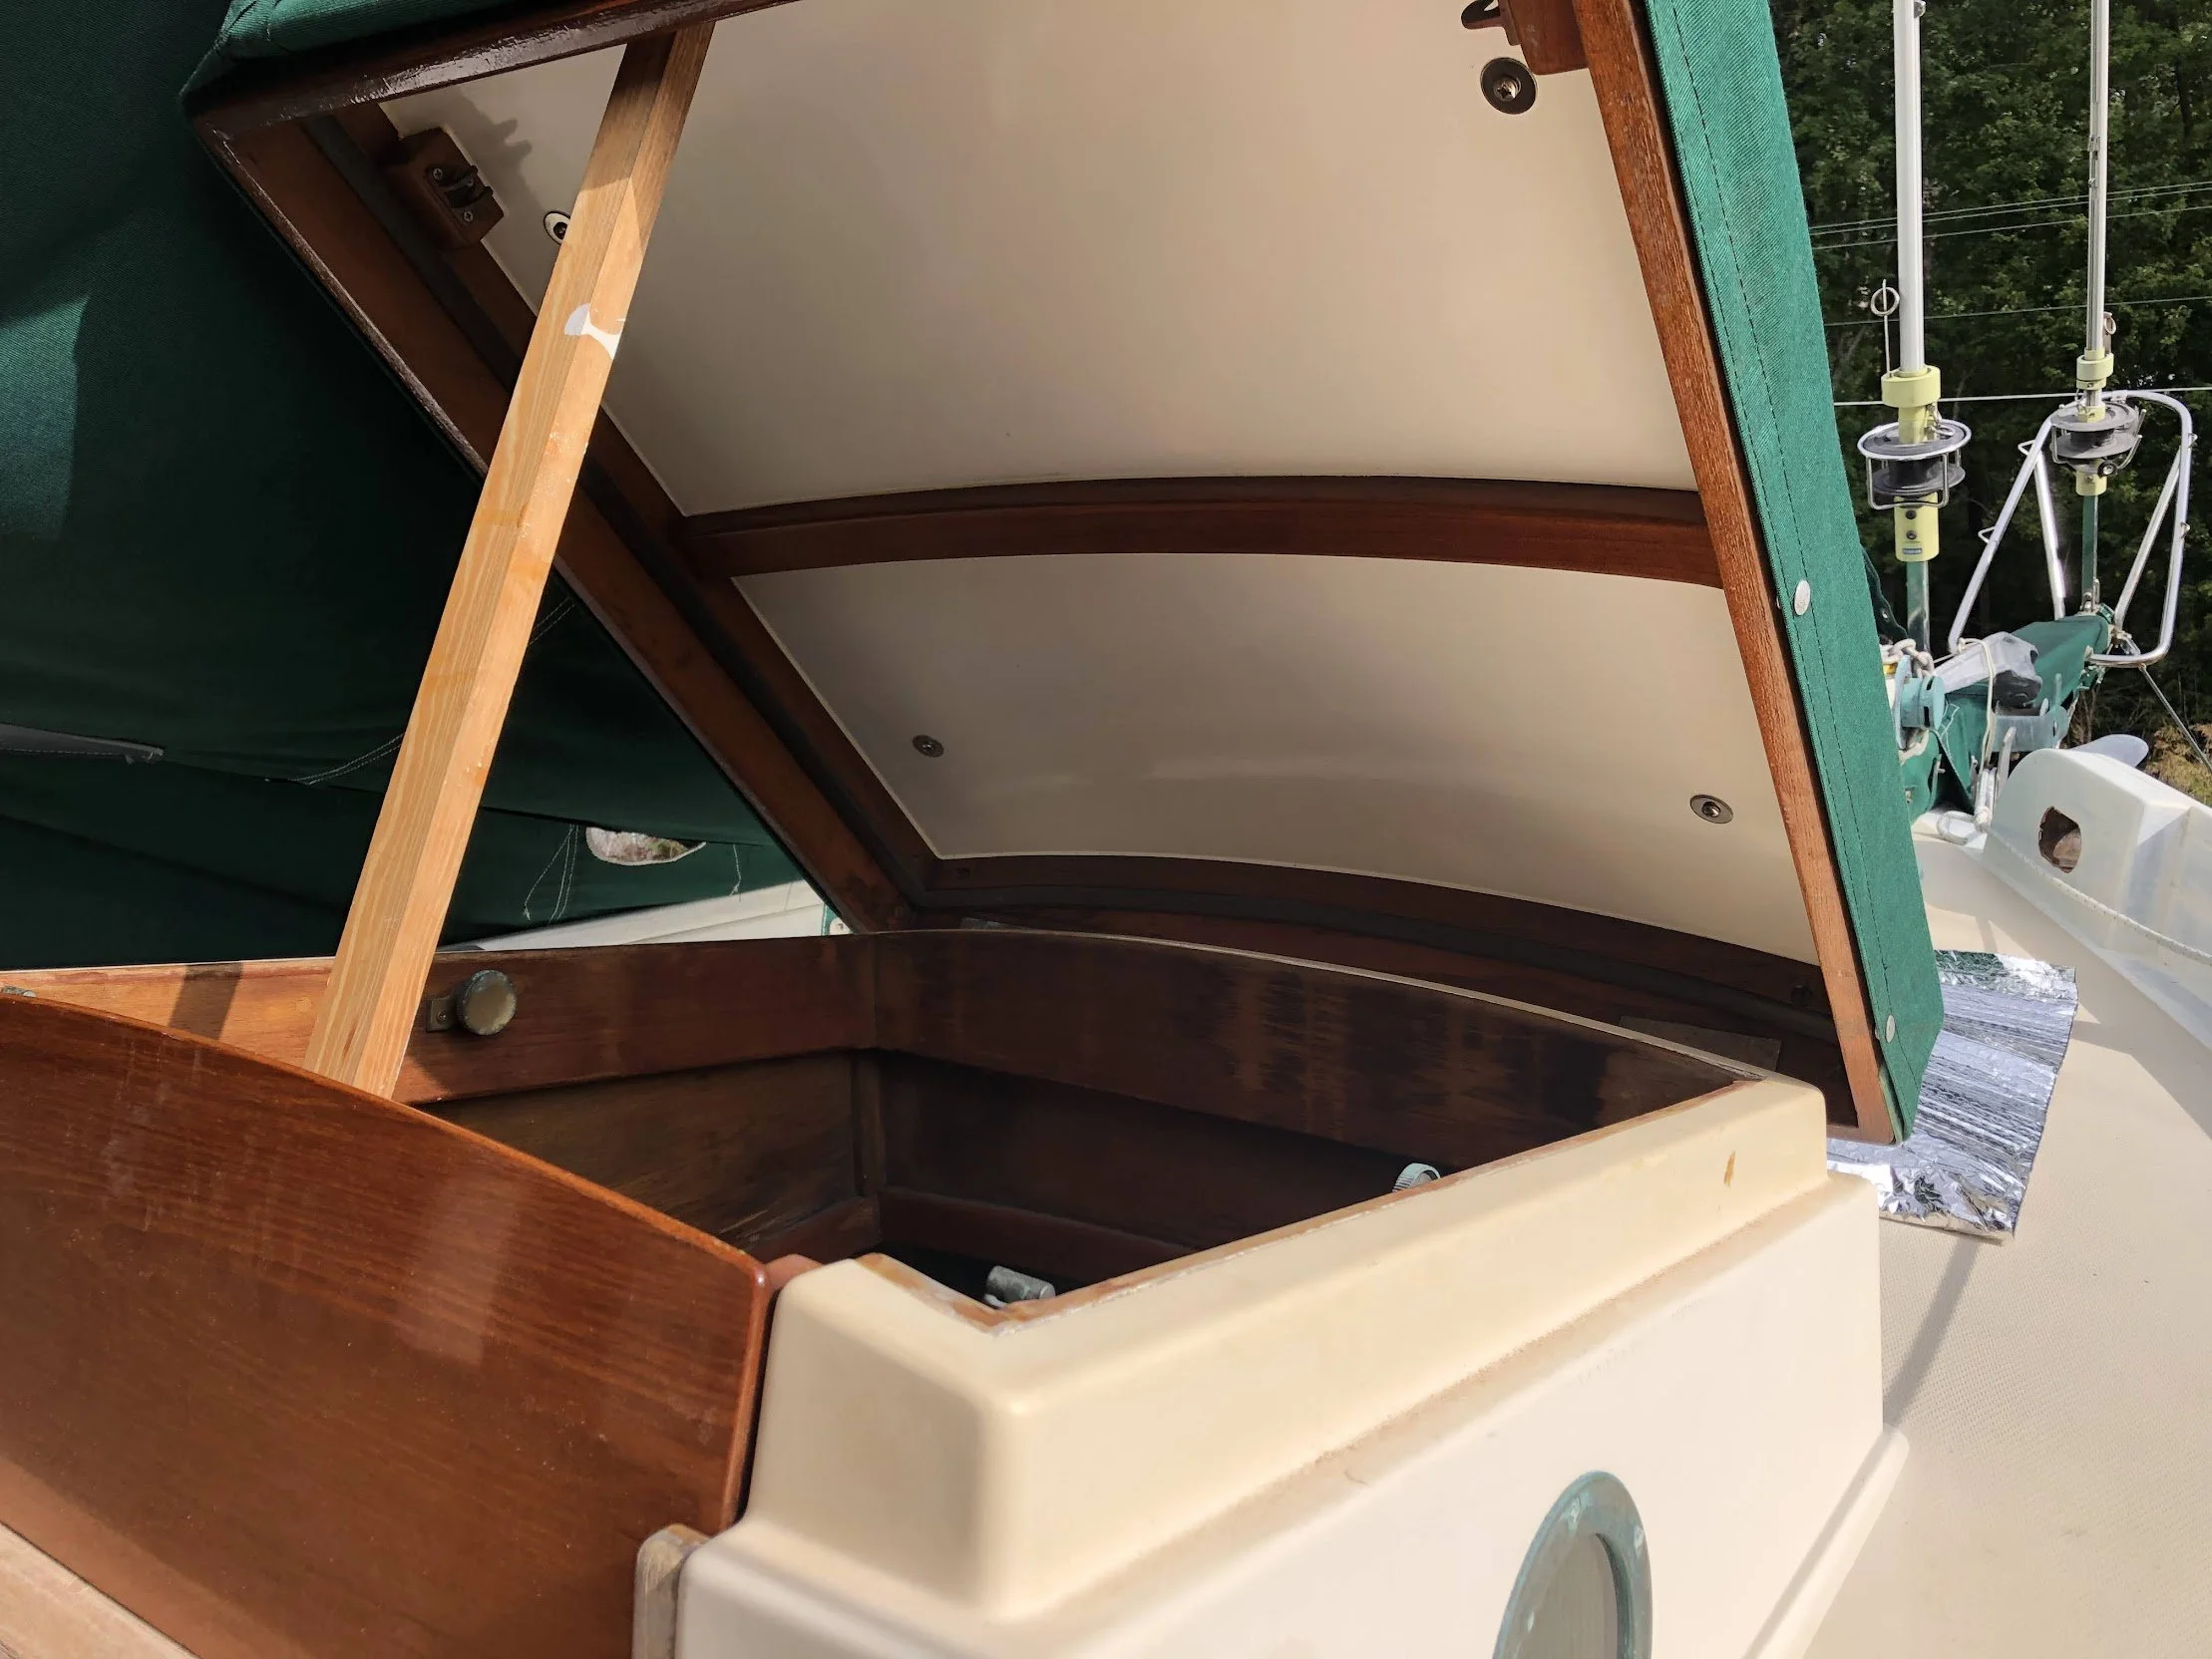
Look at that cutie! (and look at the wood on the doghouse. Not the dog. The doghouse.)
The doghouse on Calypso had a beautifully aesthetic ring of teak on top of the fiberglass, while Mischief did away with such niceties, instead sporting the plain bare gel-coated glass doghouse.
No teak ring on the gelcoat. This is Mischief. The interior wood is the same thickness all around, and sits nicely on that doghouse top.
Since we ticked off the “MUST DO” list so fast, and since we have friends (other ones, not the ones we’re borrowing a house from) with a shed full of tools they’re happy to lend us, Jeremy jumped right into this project. The plan? Remove the teak trim and install a “soffit box” of sorts on the inside of the hatch that will form a better seal.
We borrowed a table saw from John (see it in the background of the photo?) and got to work. (“We” Is in the royal sense. I was mostly below inventorying, stowing, and sorting stuff. As with most of these projects, Jeremy is the craftsman.)

Jeremy starts measuring
Jeremy decided on using fir as the wood of choice, reasoning that since it’ll all be primed and painted, a tropical hardwood wasn’t necessary. Besides, the scraps of teak and mahogany we have aren’t quite the right dimensions and would have required a lot of epoxy work to create what we needed.
He measured, cut, dry fit. Did some fine shaving. Dry fit again. Took the hatch up onto Calypso’s deck to check the fit in place.

Saw being used to trim the fir. Blade isn’t as high as this photo makes it appear!

Putting one piece in place before placing the hatch on the doghouse to tesf fit.
Ignore the needs-refinishing wood. Instead, see the new soffit box against the top. This all used to be open.

Applying epoxy to the hatch. Note notched piece of wood that will fit along the edge he’s epoxying.

Holding the fir in place while the thickened epoxy cures.
The bulk of the woodwork was done in one day (Sunday); today the pieces were epoxied into place and are currently curing. We’ve got a temporary hatch cover in place to guard against the rain. Yes, the whole thing needs to be sanded, primed, and painted (and boy howdy that varnish needs some attention!!!) but that part can be done at anchor somewhere.
The other project? (Unless we add yet another one, the long-awaited installation of a wash-down pump . . .) is redoing the pump for the head. It’s sticky. We prefer our toilet to not be sticky. Stay tuned.
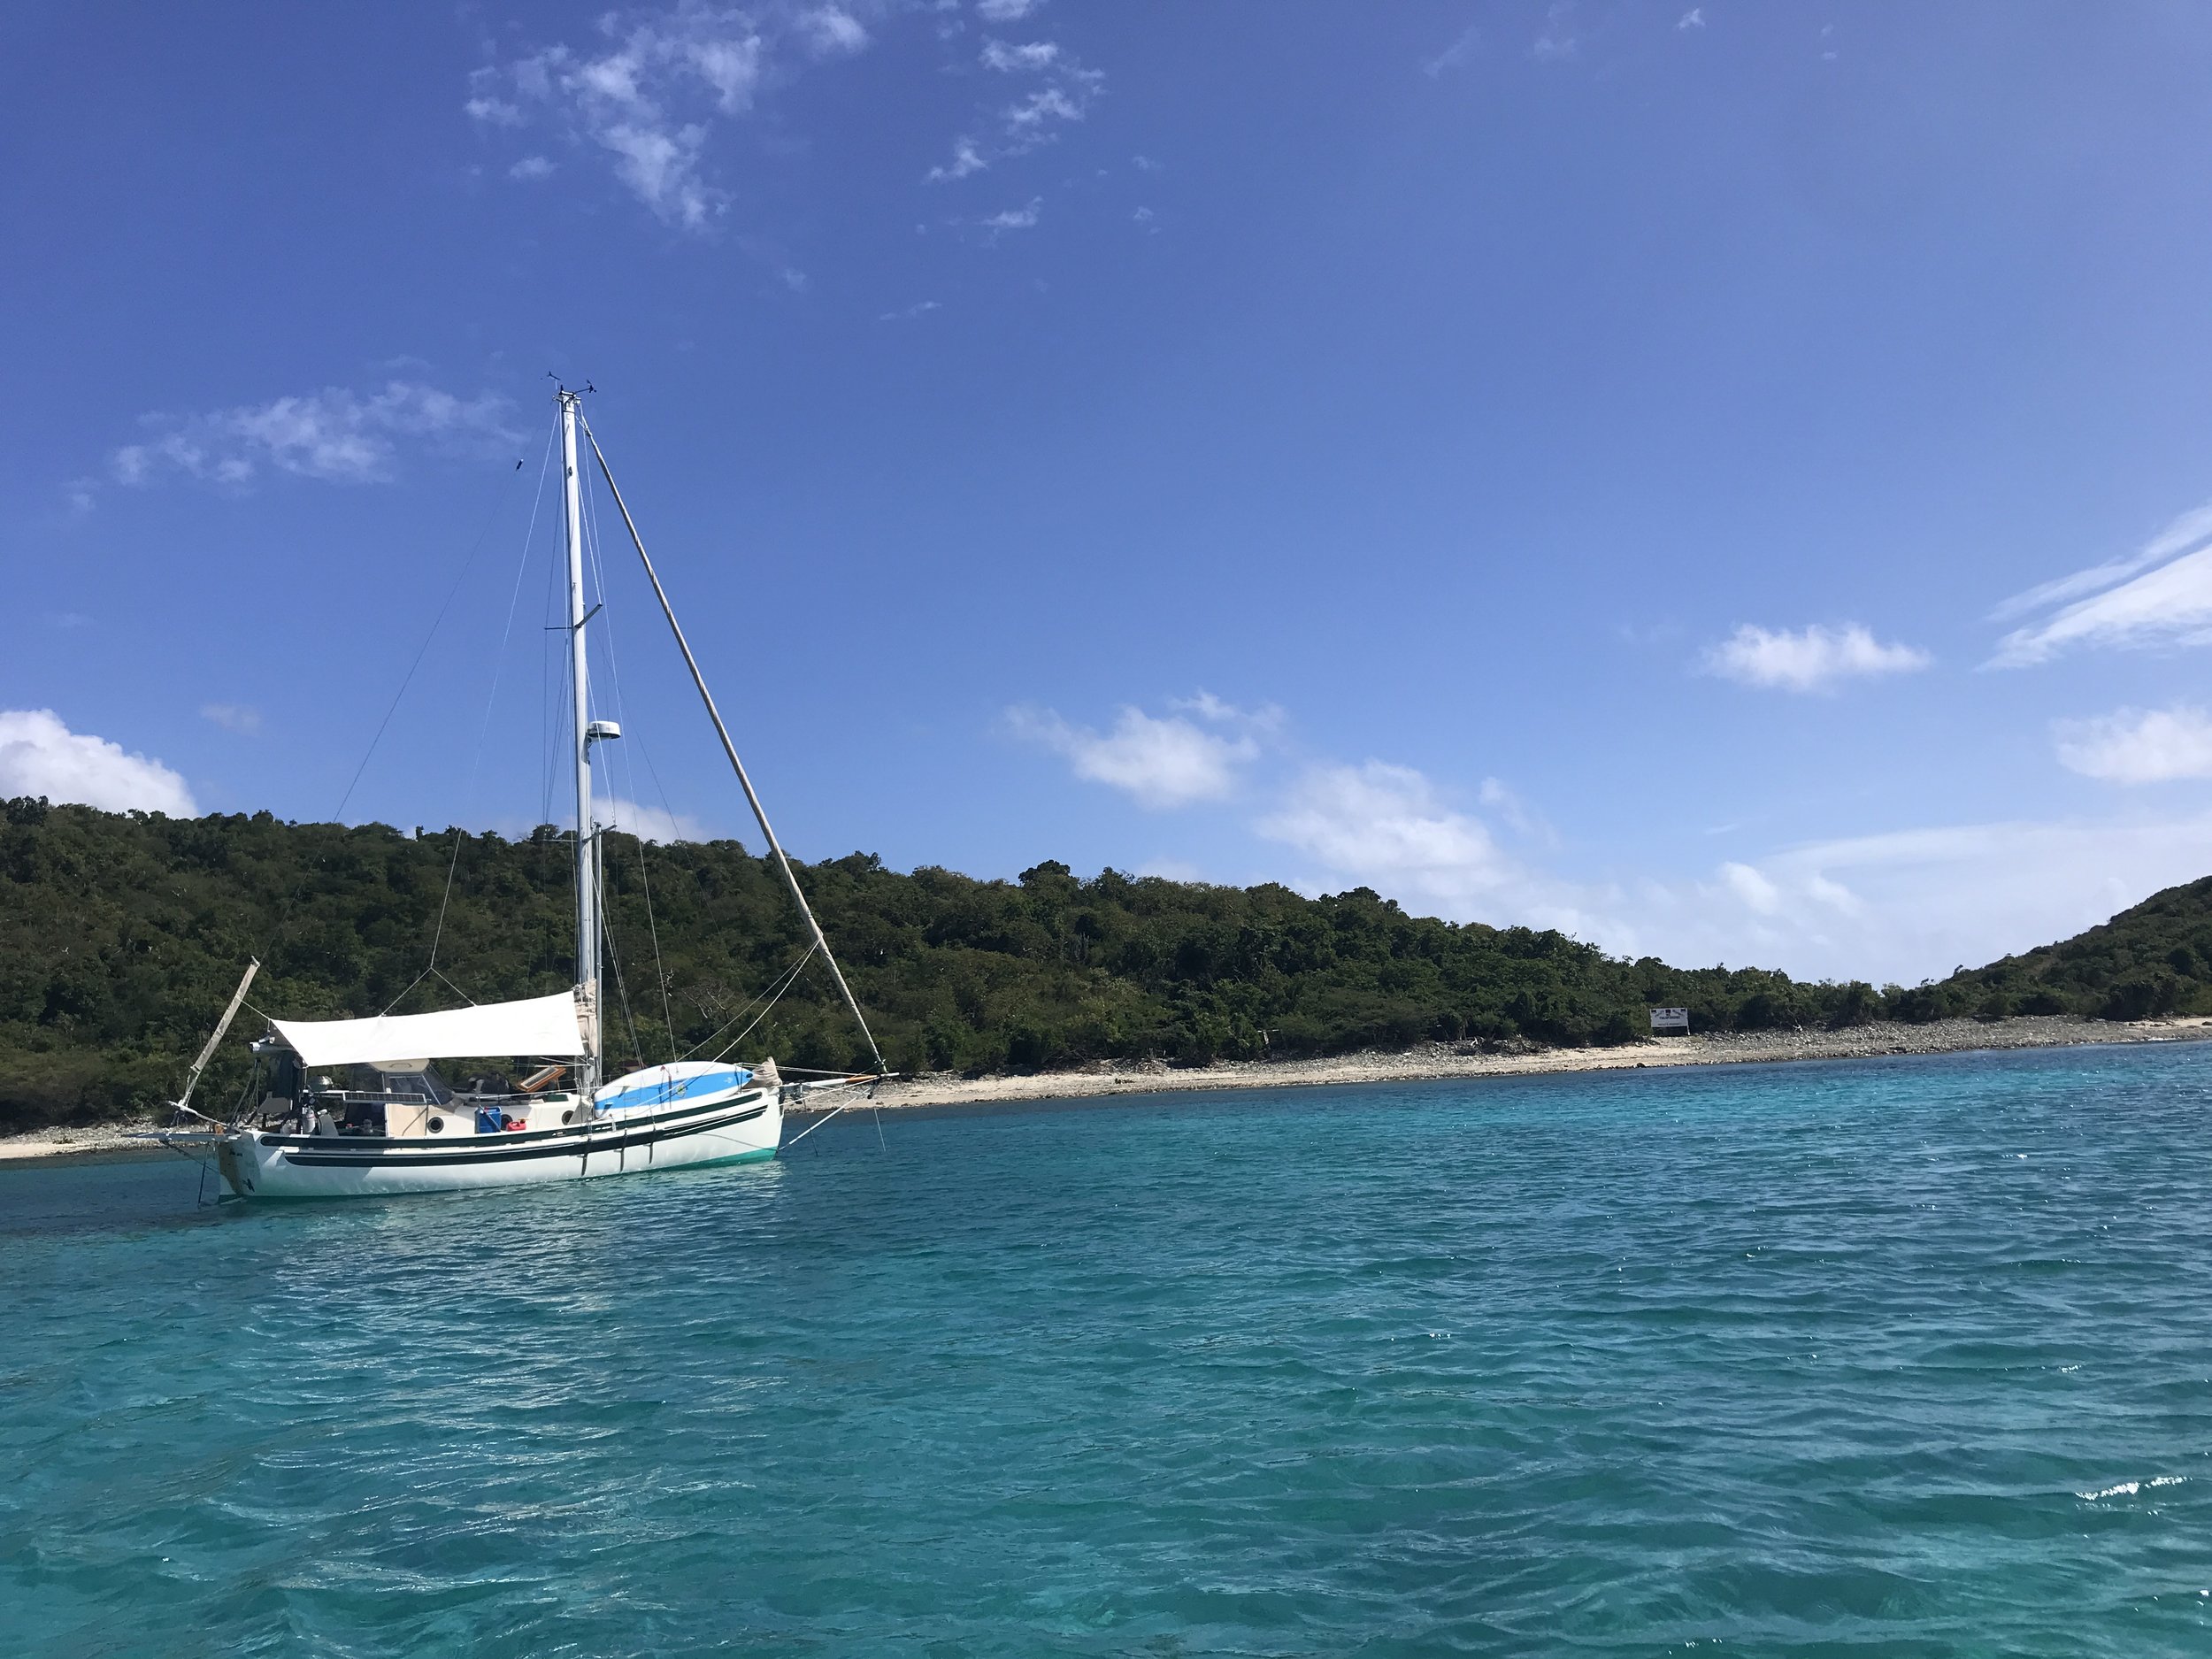
Throwback photo, somewhere in the USVI.