6 Steps to a Clean Bottom
Boat bottom, that is. I just thought I’d clarify.
This weekend was spent getting the boat ready to splash. We haul every other year generally, though there have been times when we get in the habit of pulling her out annually. Those tend to come when there’s a hurricane headed our way at a time that would work for hauling her out; if we pull for a storm, we’ll leave her out for the winter. Storage fees are less than another round of haul/block/launch.
So how do you do this bottom painting thing?
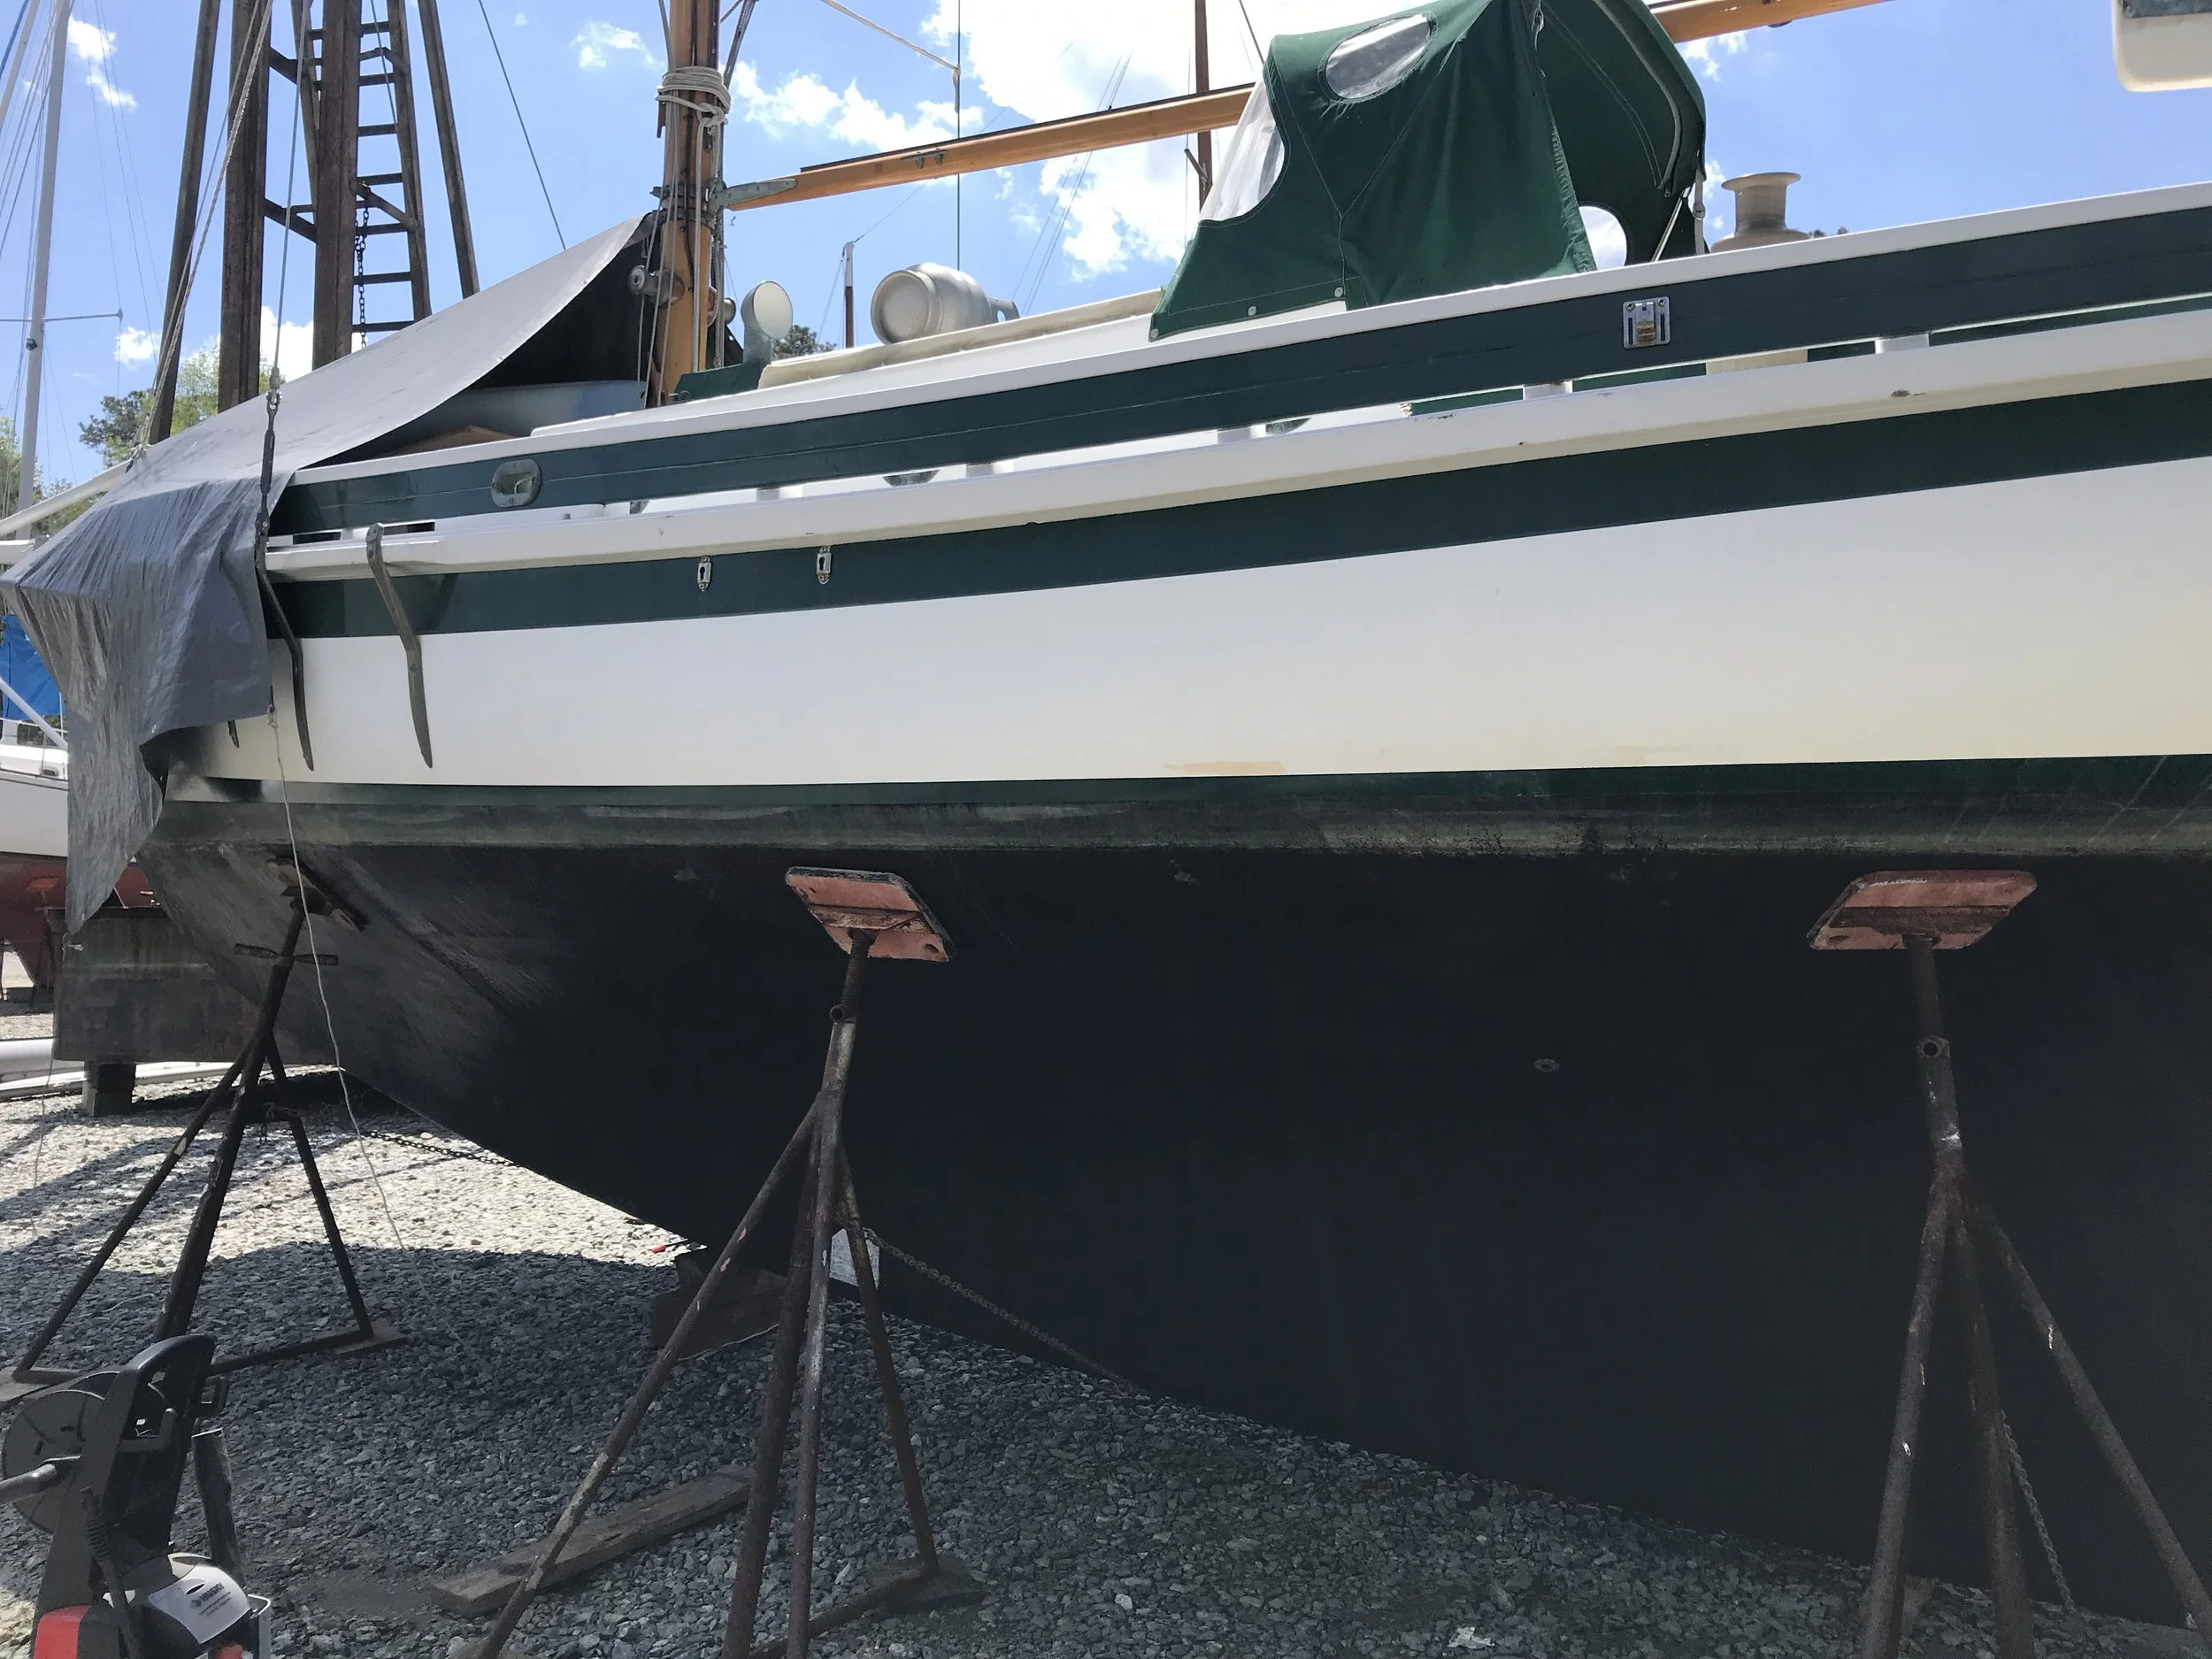
Note scum at waterline.
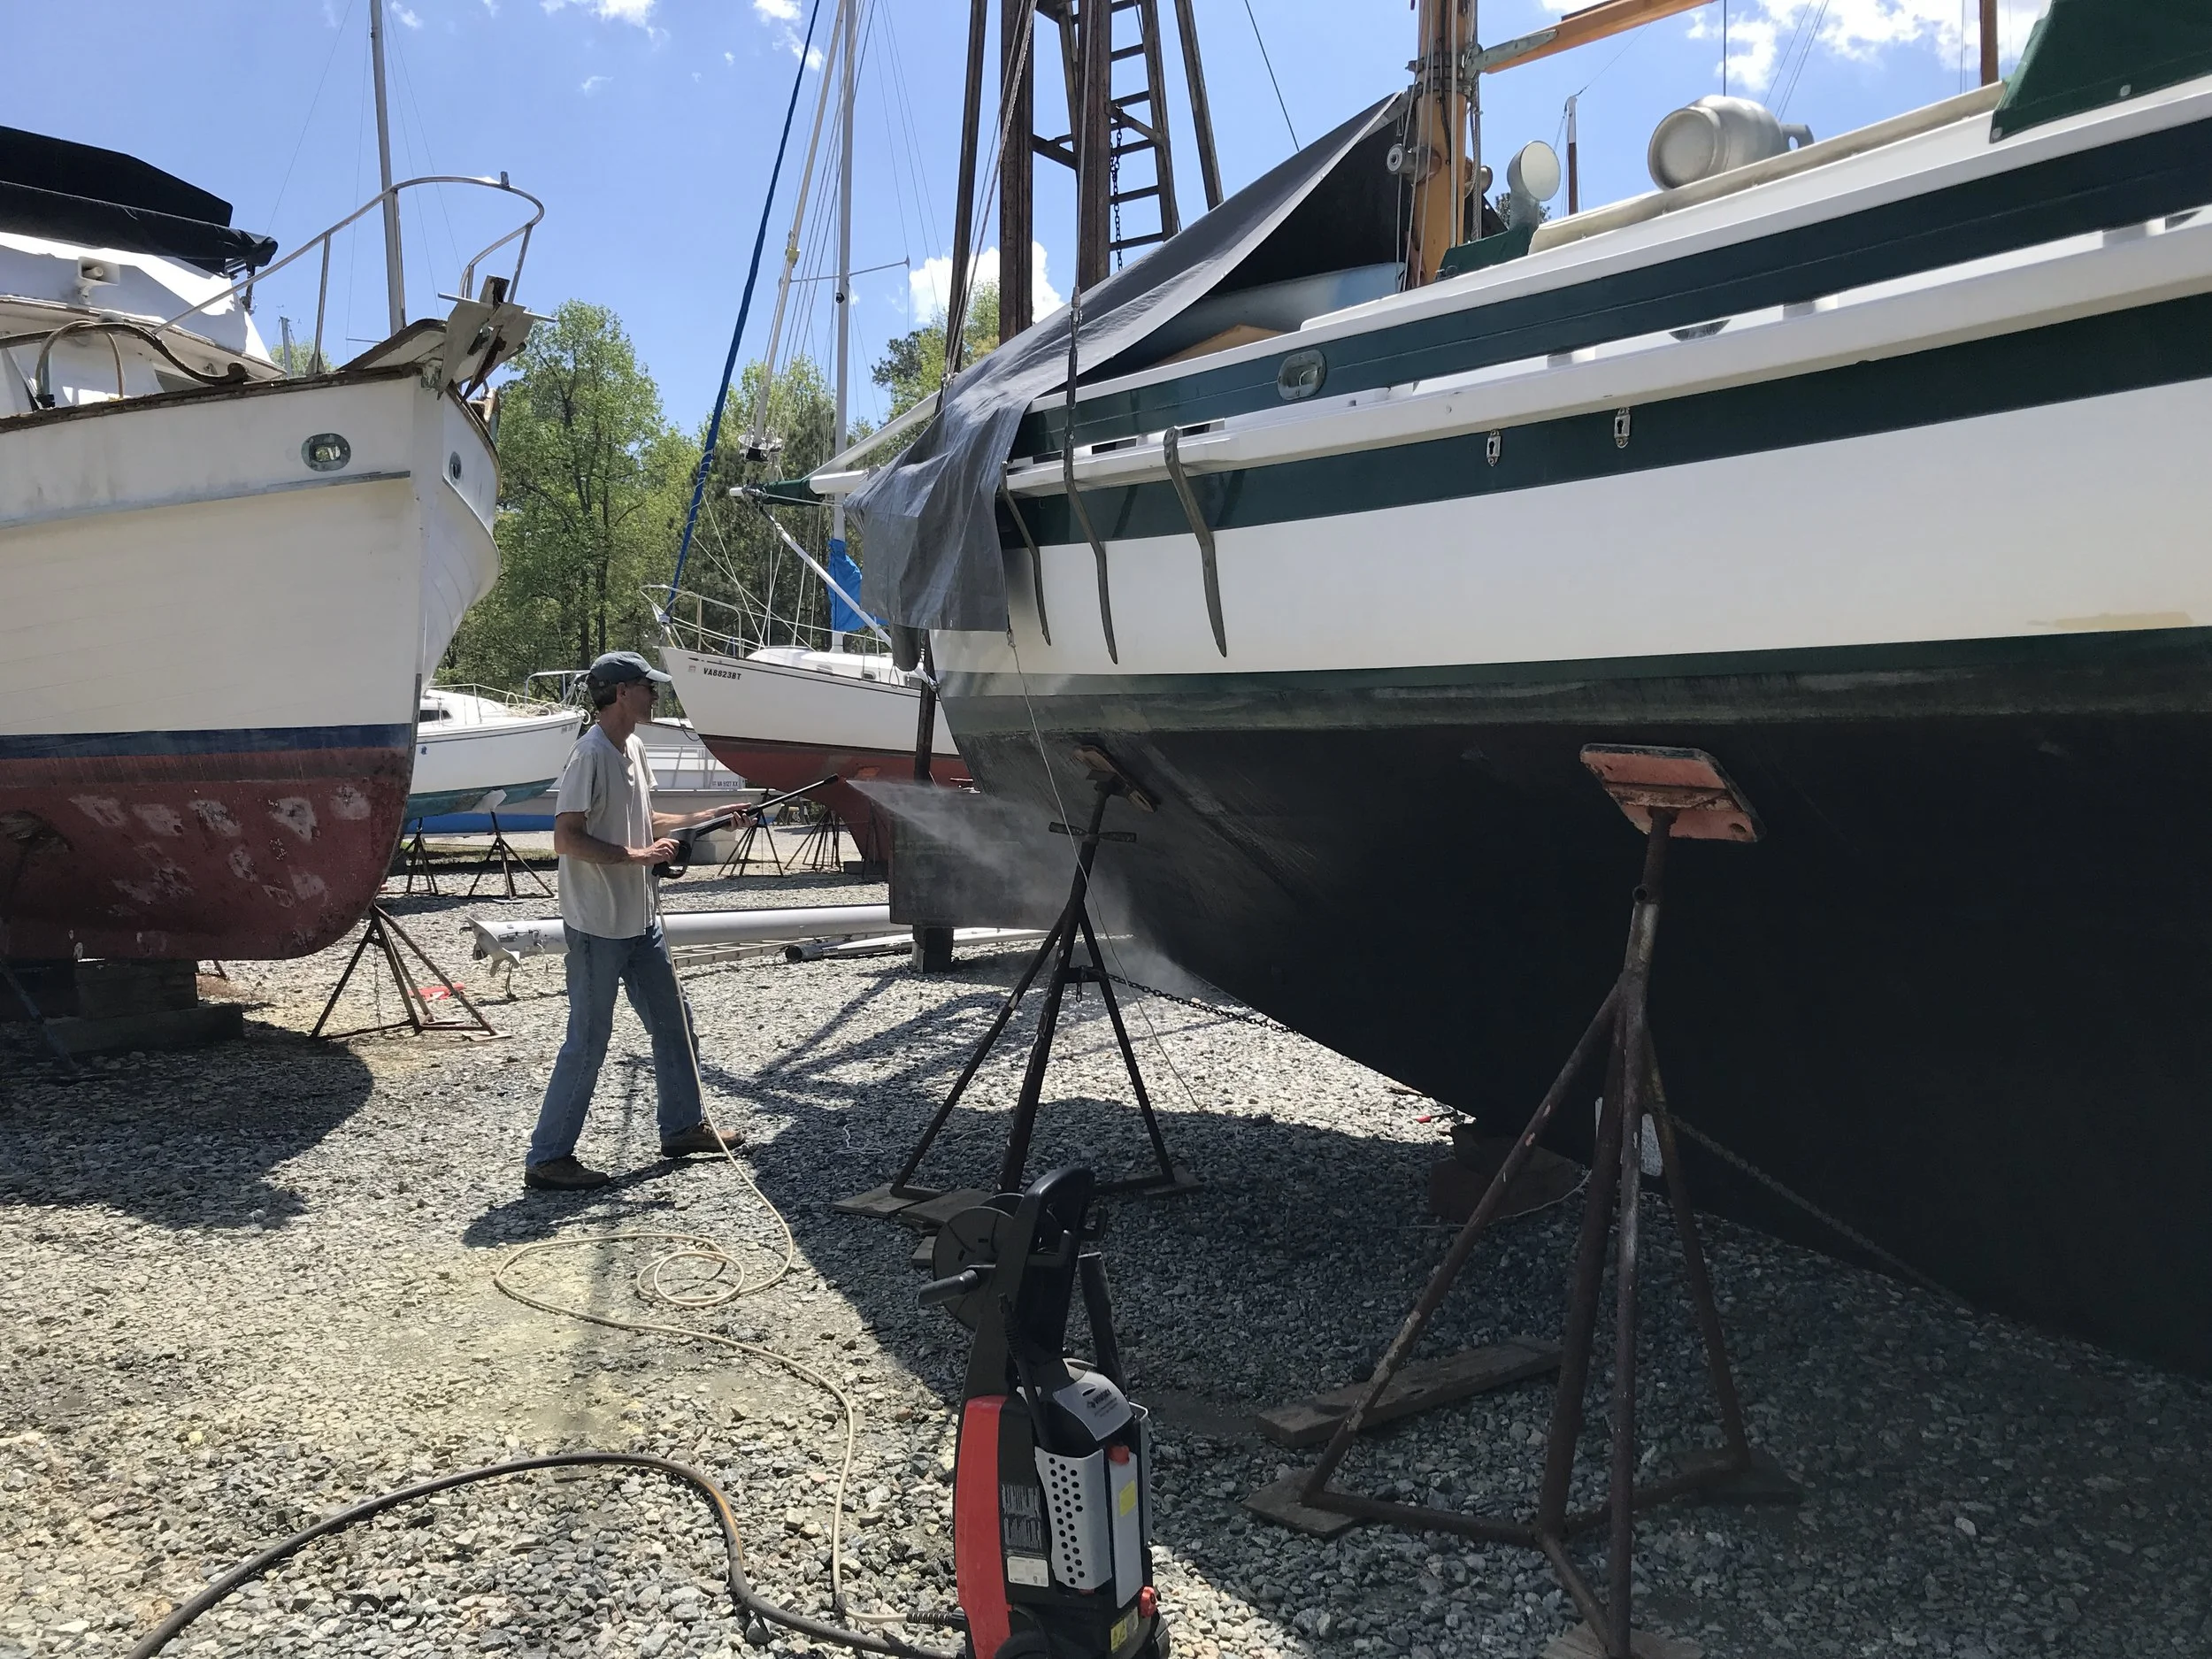
Step 1: Prepare the bottom. This might mean scrubbing the old paint, or even removing it altogether. If you are choosing a different paint this time around, and not stripping the old stuff all the way off, check the compatibility of the new on the old. We used drywall screens* on a pole and a pressure washer (that we brought with us) to keep the hull wet. We also used a green scrubby to get to the nooks and crannies. Any flaking paint we scraped and sanded off.
Note: When we hauled the boat out last fall, we scrubbed as the yard pressure-washed the hull (their equipment is way stronger than ours). This removed a LOT of the barnacles and scum growth we had.
Step 1: Prep the bottom.
Step 2: Choose your paints. We do 2 different kinds – one for the metal (prop,particularly) and one for the hull. Bottom paint varies in the biocide used – copper is a favorite – and you’ll pay for the amount of active ingredient in the paint. Bottom paint can cost up to $300 a gallon (maybe more – yikes!); different brands and formulations work better in different geographic areas. We have been pleased in our part of the Chesapeake Bay with the results of a no-name brand of paint that has 41% copper and costs $100 a gallon. Since we know we’re hauling out every other year, we don’t see much point in spending a ton of money for a different paint that might perform better; this stuff comes clean easily with a scrub in the summer while we’re in the water and cleans up really well when we pressure wash it in the slings.
Step 2: Choose paint. There are many more options than this!
Step 3: Prepare the metal for its own antifouling. We have yet to find anything that works particularly well, but regular bottom paint definitely does nothing on a bronze prop or bronze fittings.
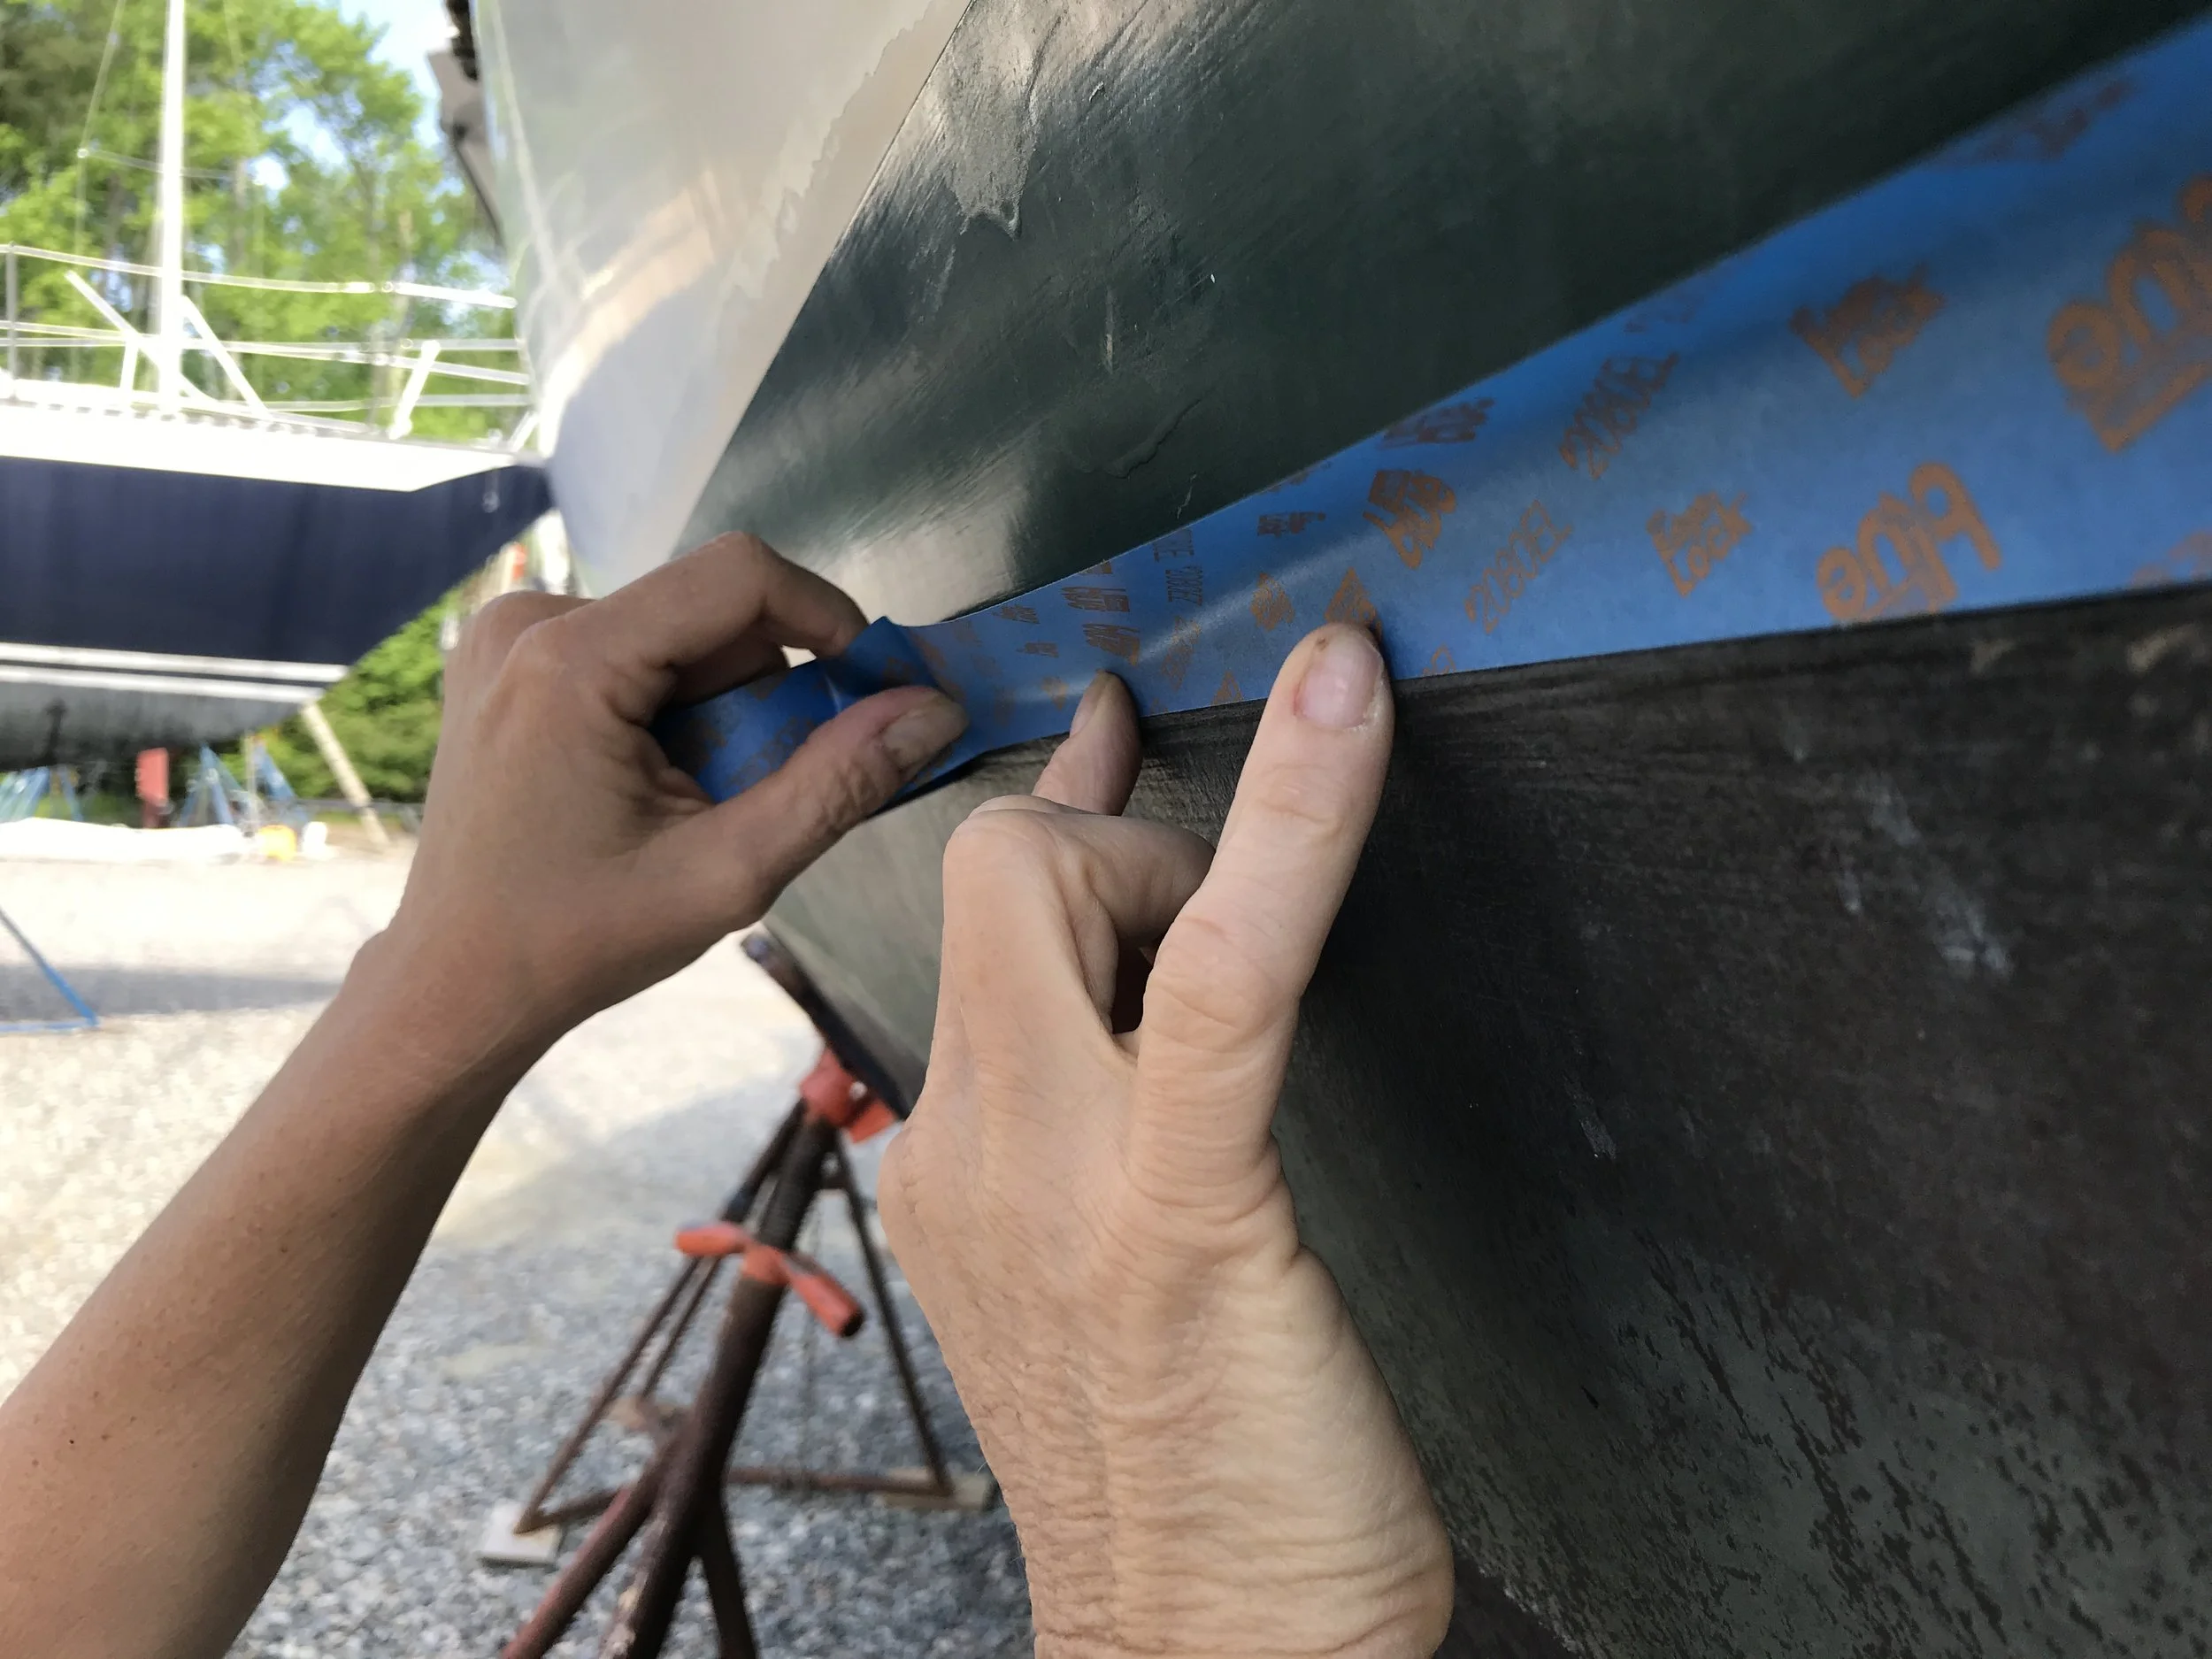
Step 4: Tape off the areas you don’t want to get painted. You will have to do this in steps – one for the metal, then one for the regular bottom paint. We did the prop and rudder fittings (and the zinc) one weekend, then removed the tape so we could tape for the hull.
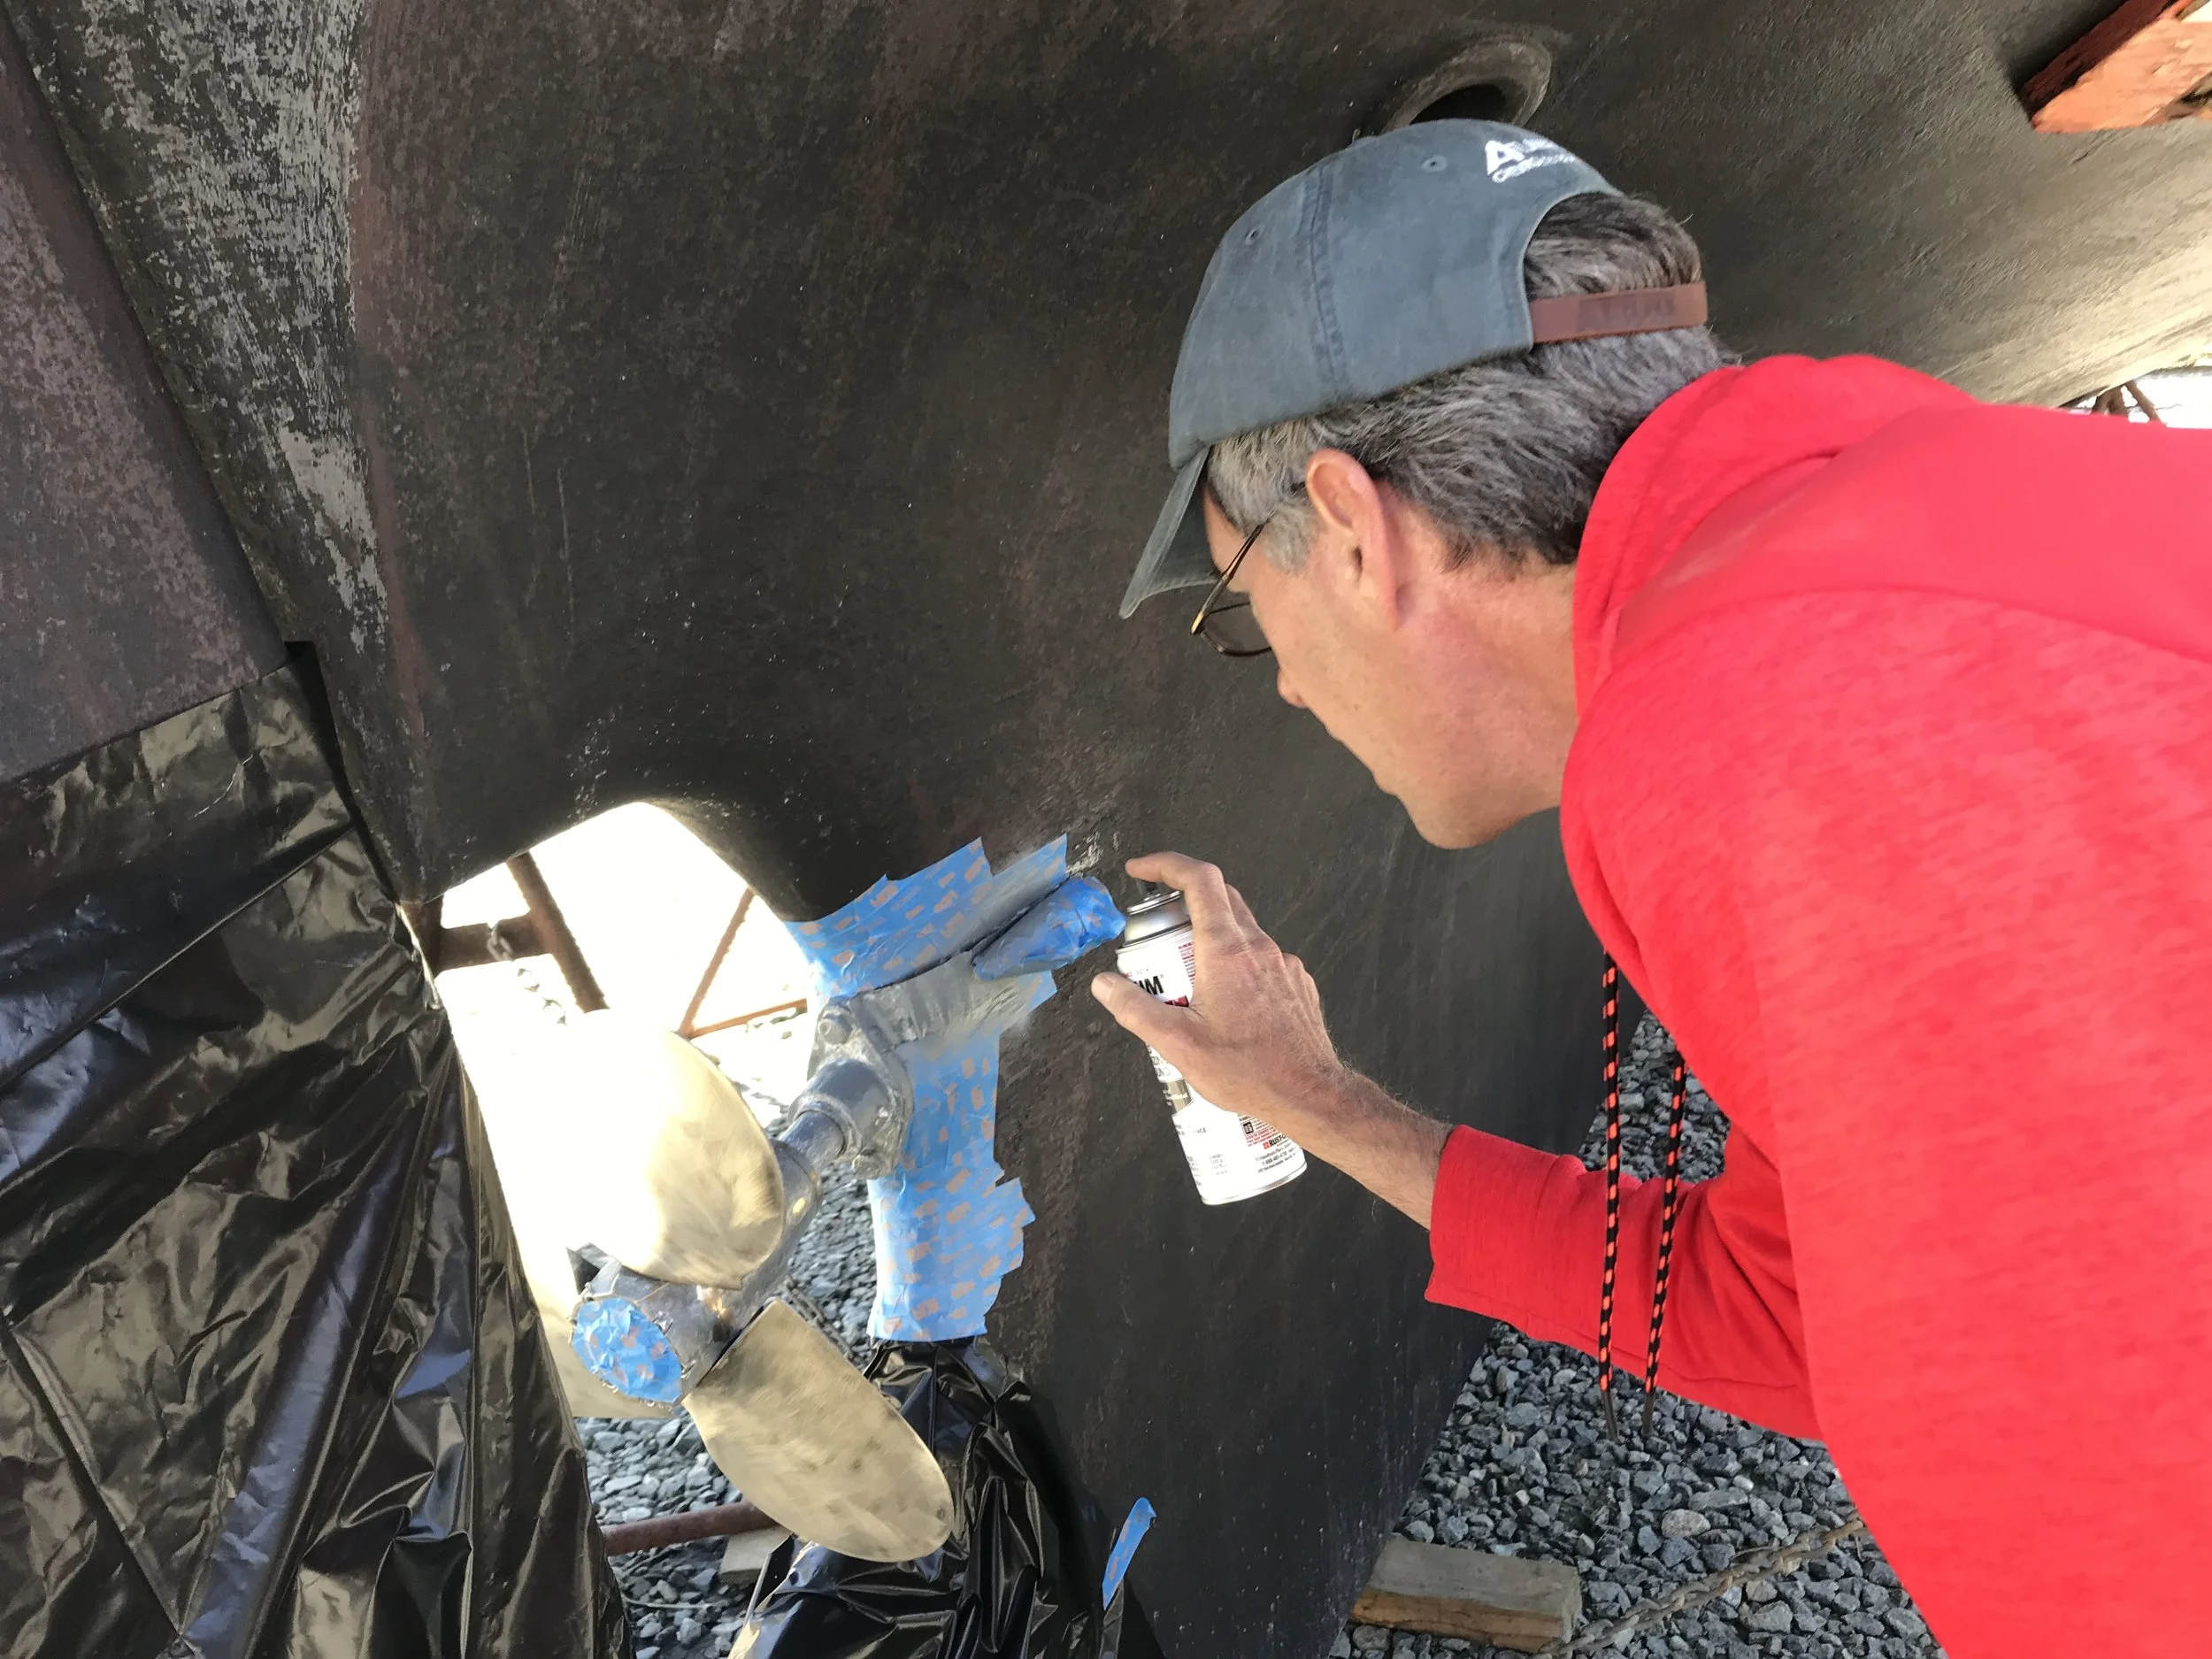
Step 5: Paint the metal. We do this first for 2 reasons: we don’t mind if the spray from the metal paint oversprays a little onto the hull when we know we’re going to paint it anyway, and secondly we don’t want to tape on bottom paint after we’ve done the hull. Removing that tape would remove bottom paint we just worked so hard to put on!
Spraying zinc paint on the prop and prop shaft. Note the taped off areas!
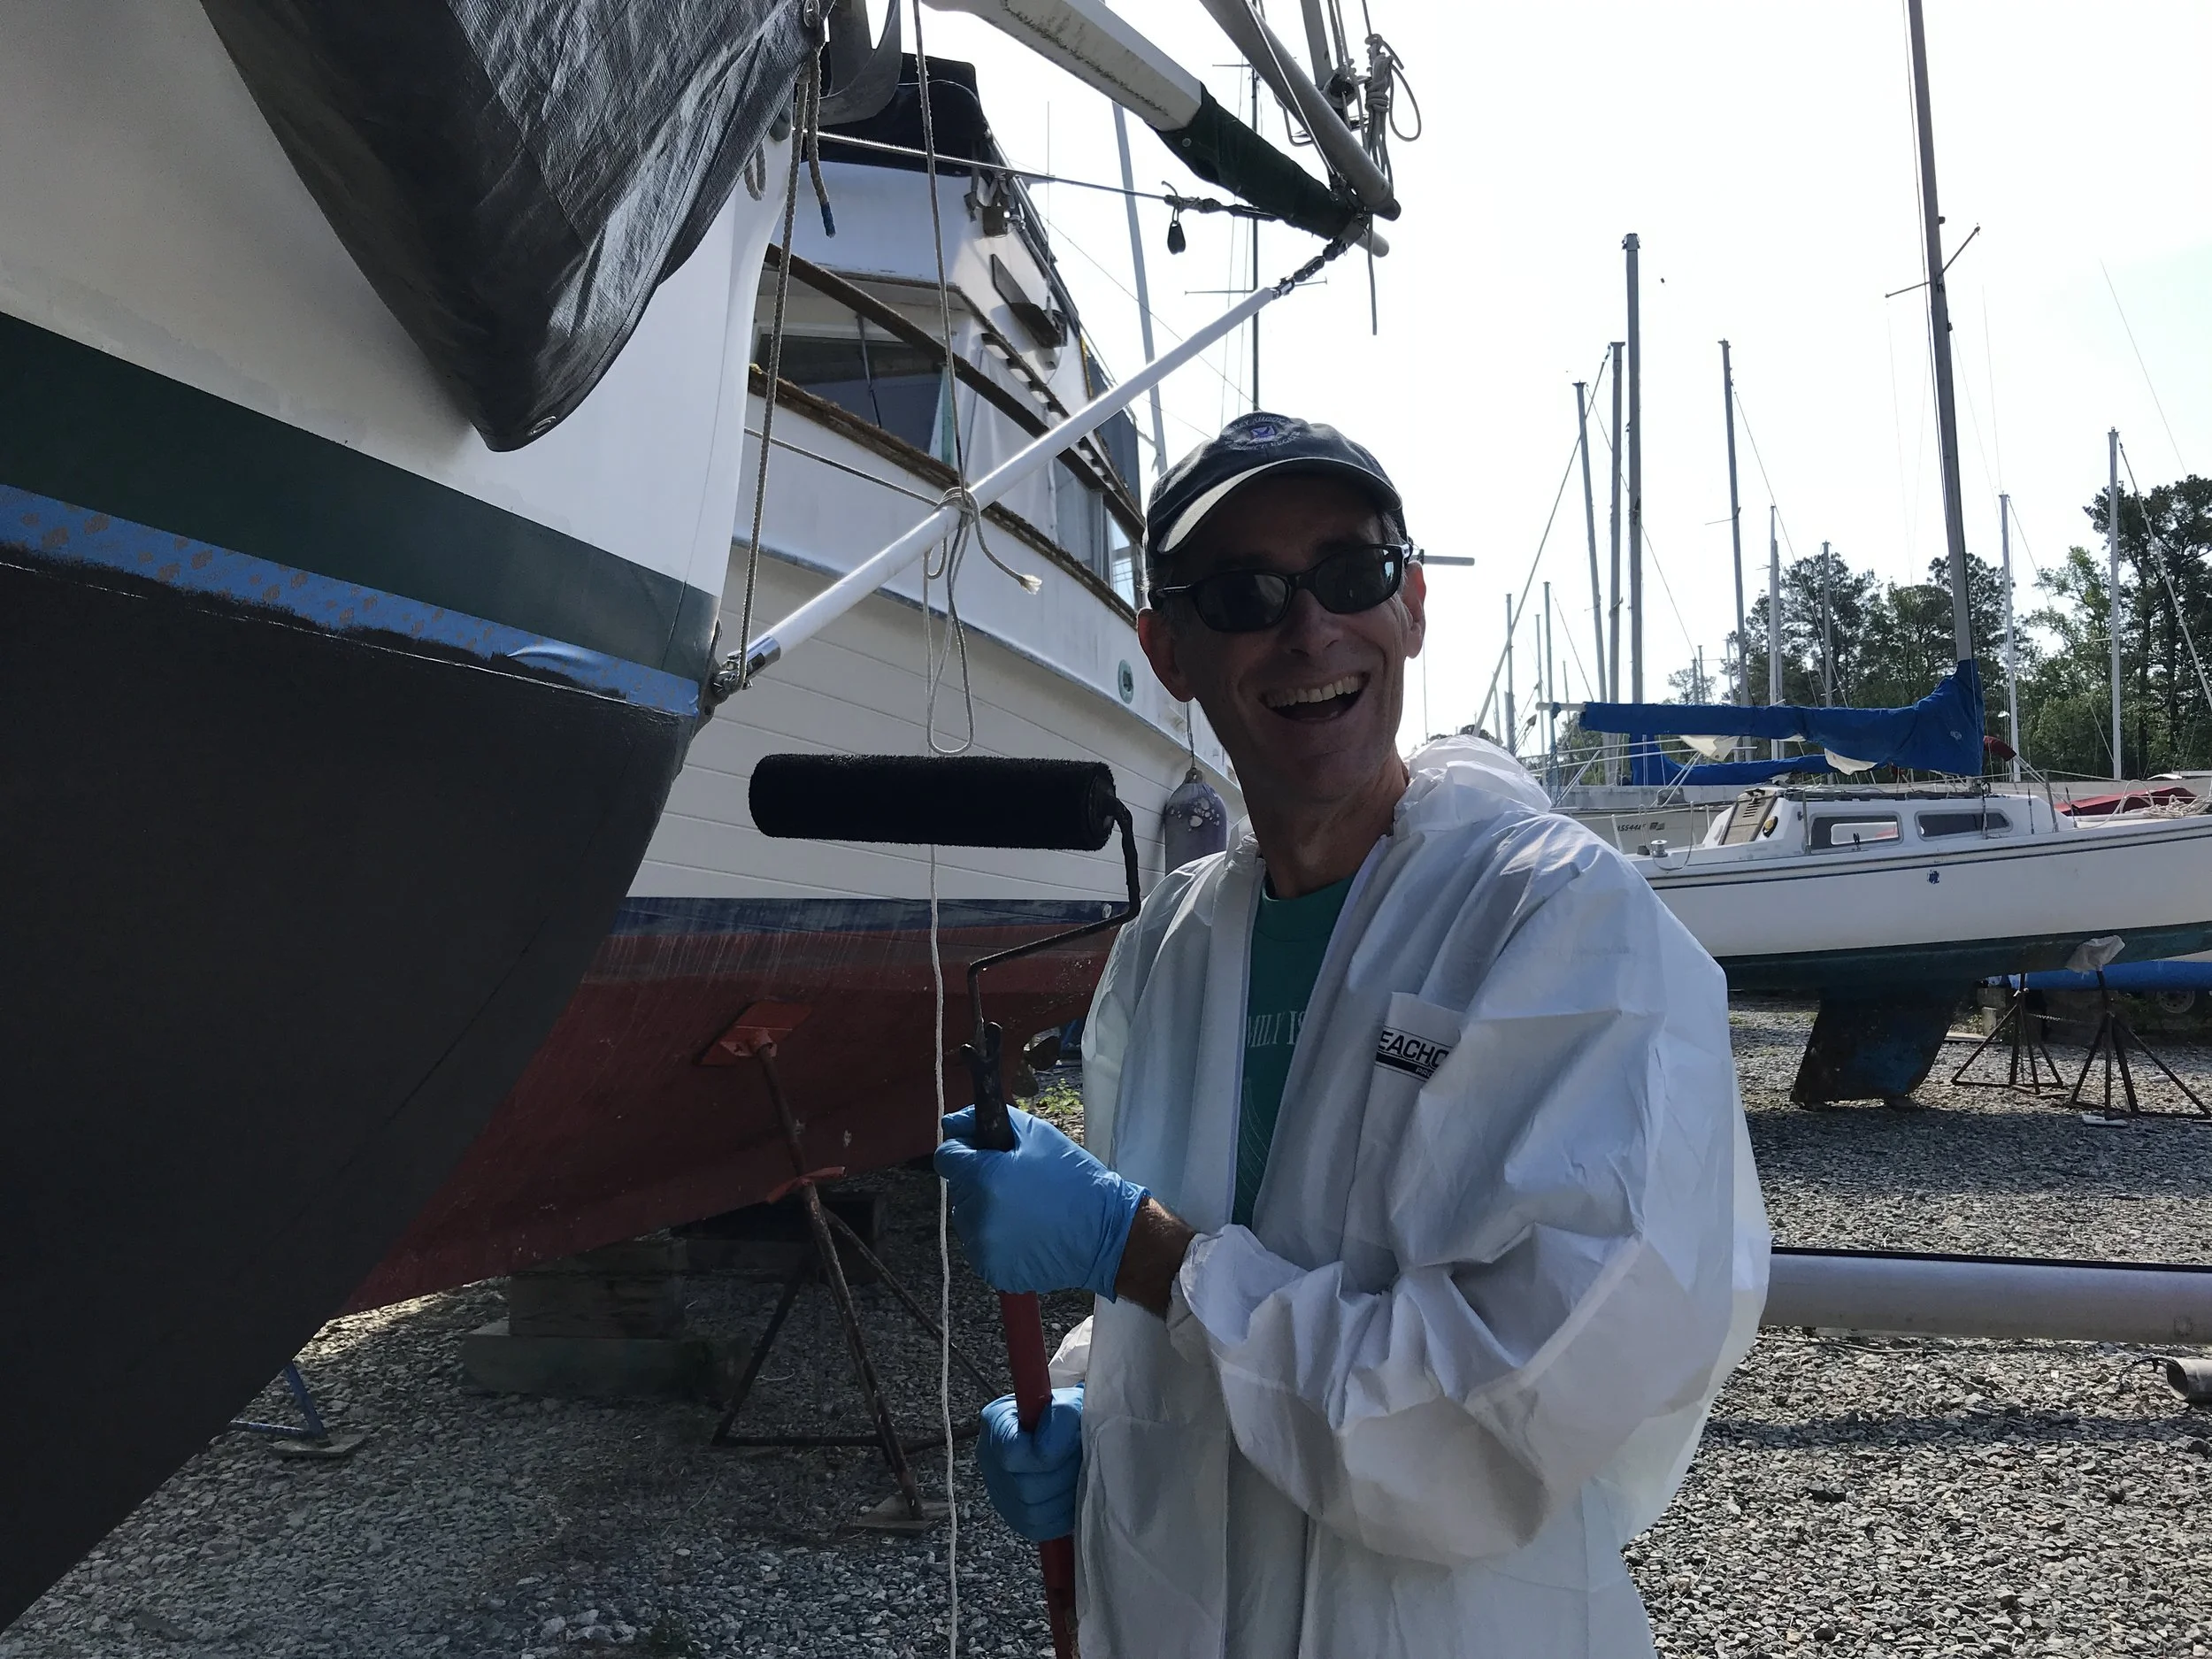
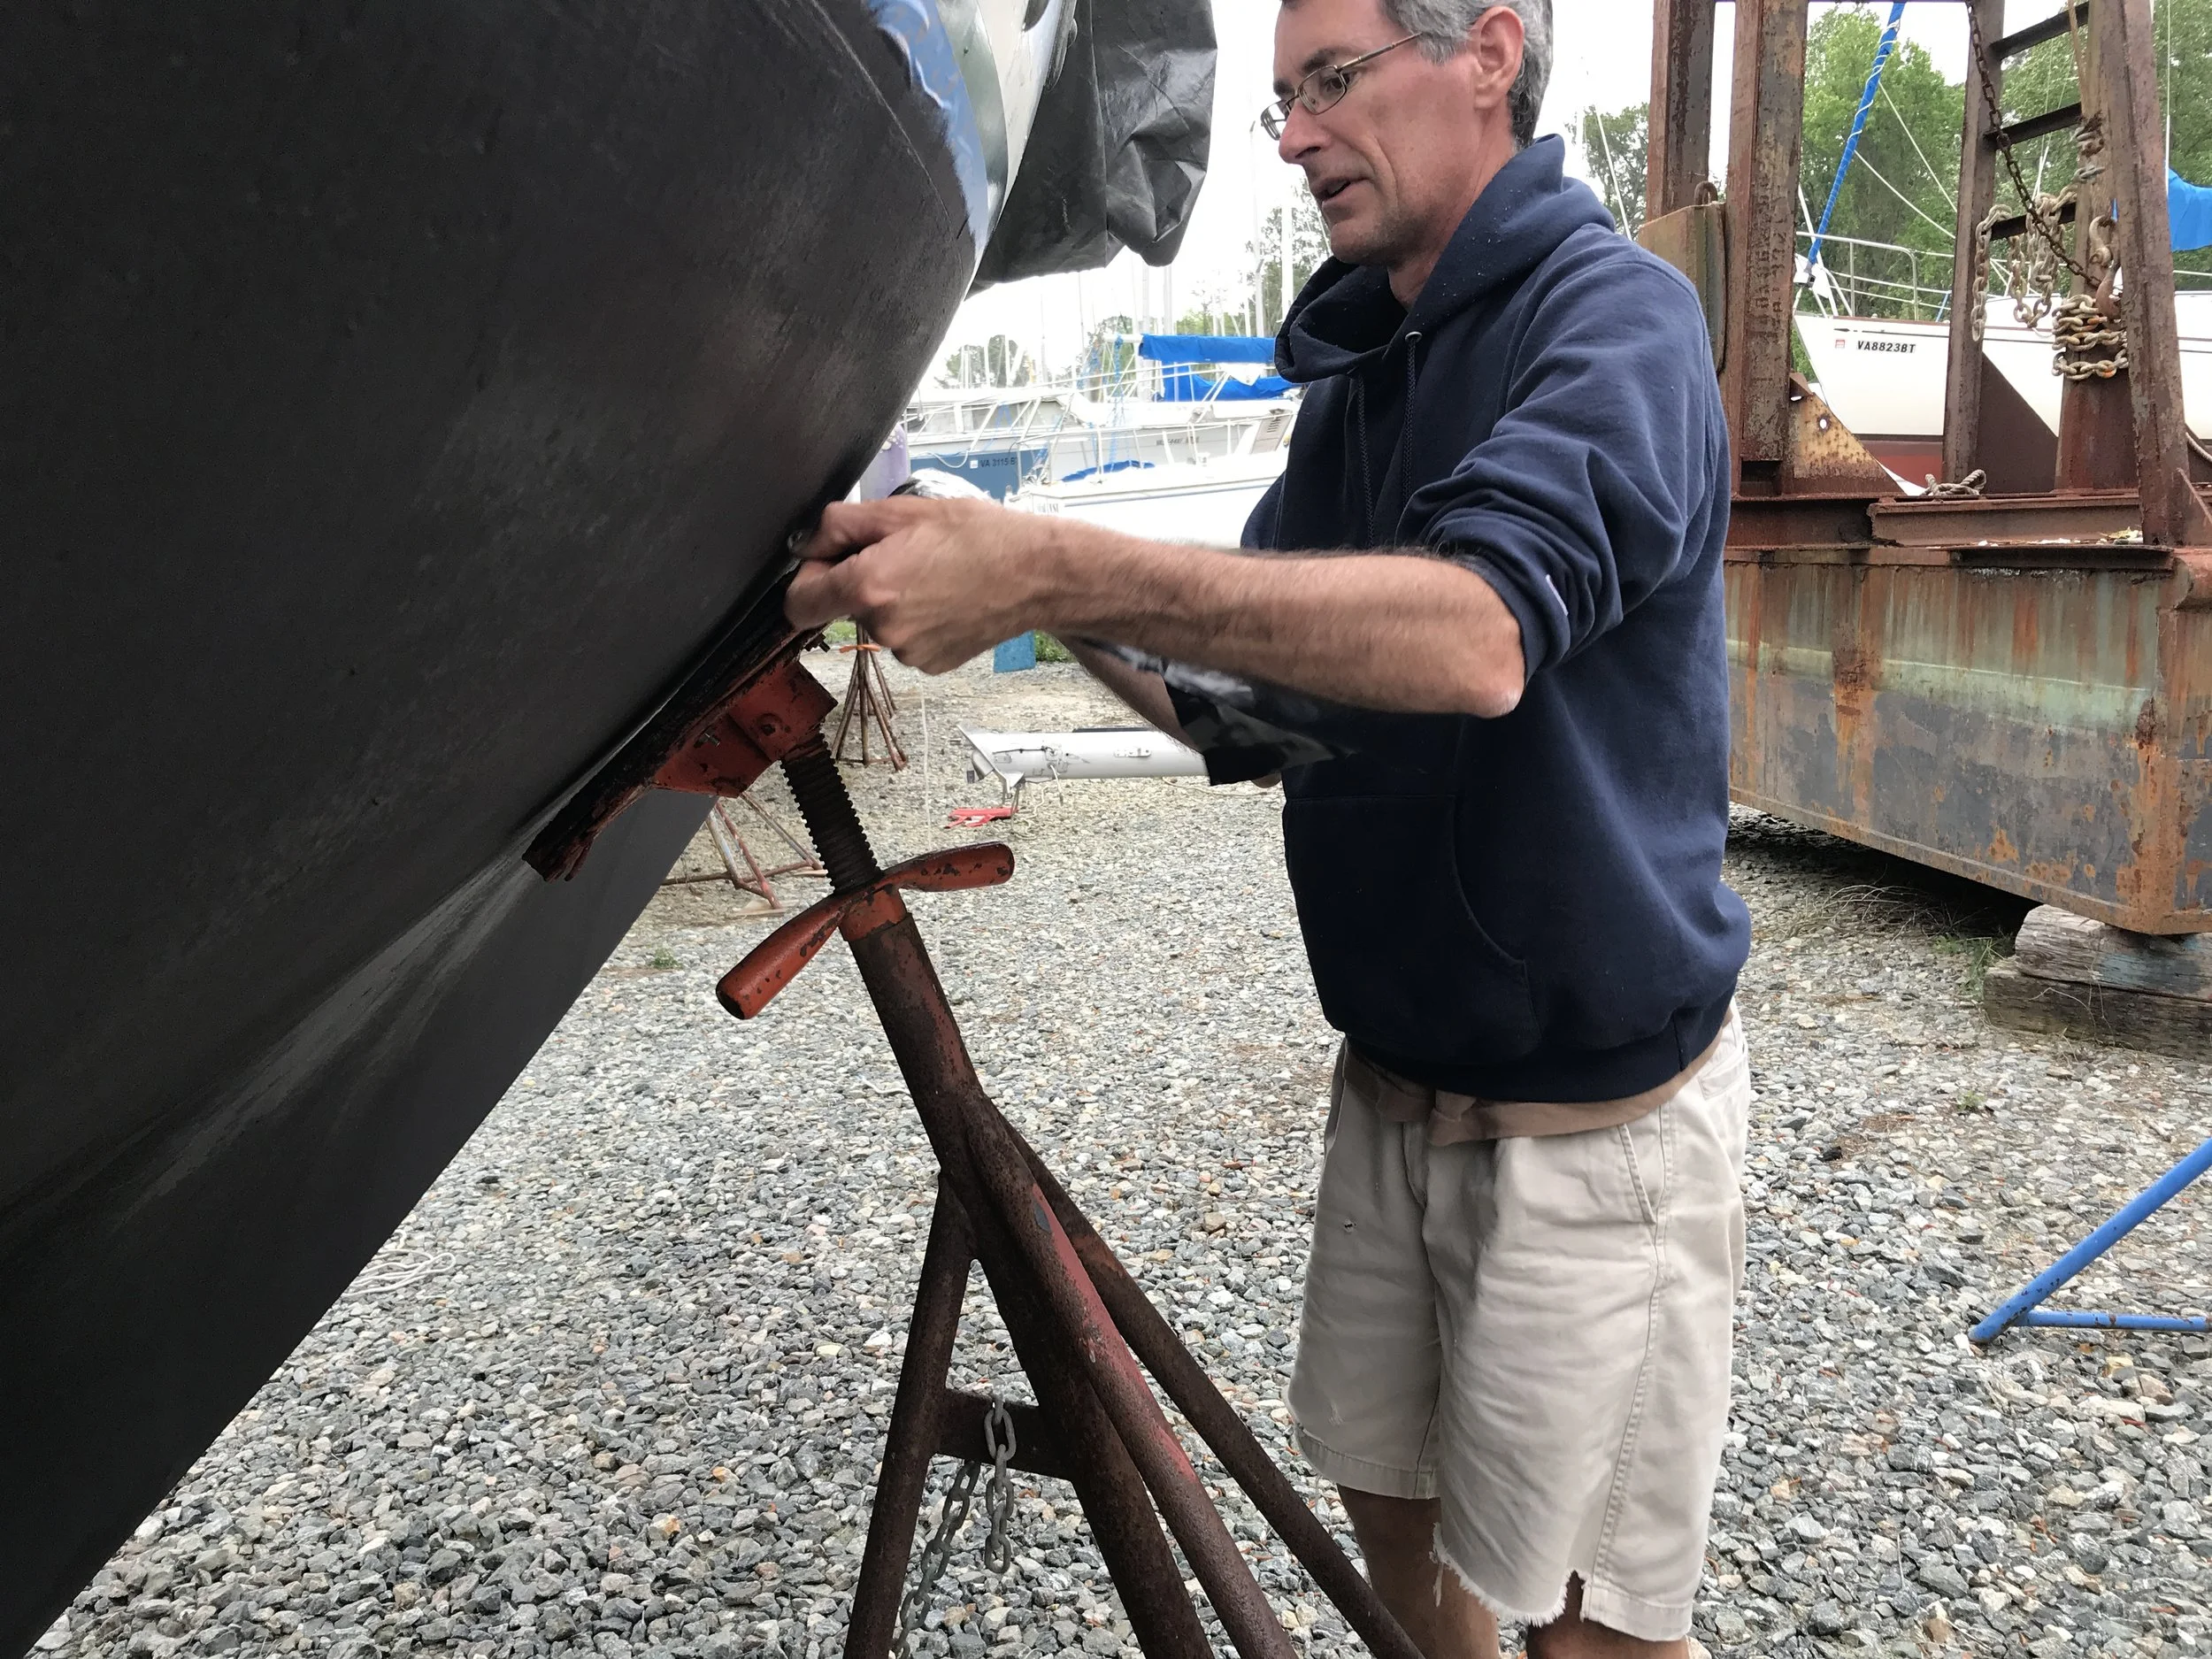
Step 6: Paint the hull. We use a roller and a brush, with one person wielding one and one person wielding the other. The roller does a better job of texture and coverage; the brush does an incredible job getting into the spots the roller can’t reach.
Check the instructions on the can of paint you choose to use – we do one coat, then let it dry overnight and then do the second. We like to make sure there’s a full day in between coats of paint, and then another day (or 2) to dry before launching.
Special notes:
1) Make sure you’re wearing safety gear. Bottom paint is very toxic (see the pic of the melted plastic cup!) and I’d like to avoid getting it on my skin as much as possible. We wear Tyvek suits to keep the spits and drips of the paint from getting on us. Probably it’d be better if we wore respirators.
Tyvek suits. We're fashion-forward.
Bottom paint in a plastic cup. Any questions?
2) We buy 2 gallons of paint and use it all up. If it does 2 full coats, awesome. If it gives us a few extra spots, fabulous. If it doesn’t quite get 2 full coats – that’s okay. We’re pulling out again in a couple of years and will just have to dive in the water with a scrubby maybe twice a season instead of once.
3) The second day we start with the high-need areas. The leading edge, the waterline, and the area around the prop are more susceptible to bottom paint wearing thin, so those get hit first on day 2.
4) You will have to figure out a way to get the bottom paint under the stands and blocks, and, if they blocked you really low to the ground, the bottom of the keel. Most yards frown on you moving the stands yourself, and whether you can hang in the slings long enough for a quick coat of paint on the bare spots to dry is a matter of yard timing and policy – and may also depend on the weather. Just be aware of that.
The job is messy and expensive, for sure, but once it’s done you’re good for another year or two or three or four, depending on your paint and your budget. Go enjoy that clean bottom!
Ahhh. Splash time!
*As an Amazon Associate I earn from qualifying purchases.
