Cheater Tongue and Groove
Living in a small space means the aesthetics take on even more importance than they might if you had oodles of extra elbow room. When you don’t have a lot, you want what you do have to be beautiful (in whatever way you define beautiful) - and so we spend a huge amount of time debating what things will look like.
The interior of Calypso, built before the Sam L Morse Company was doing anything other than hull and deck on the BCC, was finished out in San Diego by a place called Bill Clark Custom Yachts. They did gorgeous work (even if there are bungs in completely inaccessible places) that included v-notch (tongue and groove) cedar strips on most straight vertical surfaces like bulkheads. These strips are about 2.5 inches wide and butt into each other like decent tongue and groove should.
Dark interior: Calypso’s original
The bulkheads you can see (and the only really visible part due to lack of light is in the v-berth area) are all that cedar stuff. We’ve since painted them white, which does a tremendous amount to expand the feeling of space, but we’ve also changed out a few bulkhead surfaces.
The standard BCC finish for these surfaces is a fiberglass liner with that same v-notch cut in. That’s not findable by any of our research methods. The only “off the shelf” product that’s remotely close is bead board - and frankly, that’s not even remotely close. When we left the first time, we did reluctantly put in that bead board where we needed a finish on the theory that something was better than nothing.
I think “nothing” might have been better than the bead board, which looks like someone ran a bead of sealant between 2 pieces of wood, leaving 2 threads on either side of a bulb. Besides the fact that ANY crack in a surface will gather dust on a boat is the other fact that it just looks like crap (remember where I said that beauty is in the eye of the beholder - if you love bead board, have at it) and absolutely, completely, does NOT match our existing wood finish. Yeah, even painted it doesn’t look the same.
Focus on the 2 different finishes on the wood, please.
As we’re spending all this time totally redoing the interior of the boat, we wanted the finishes to match. Off with all that bead board. But what to do?
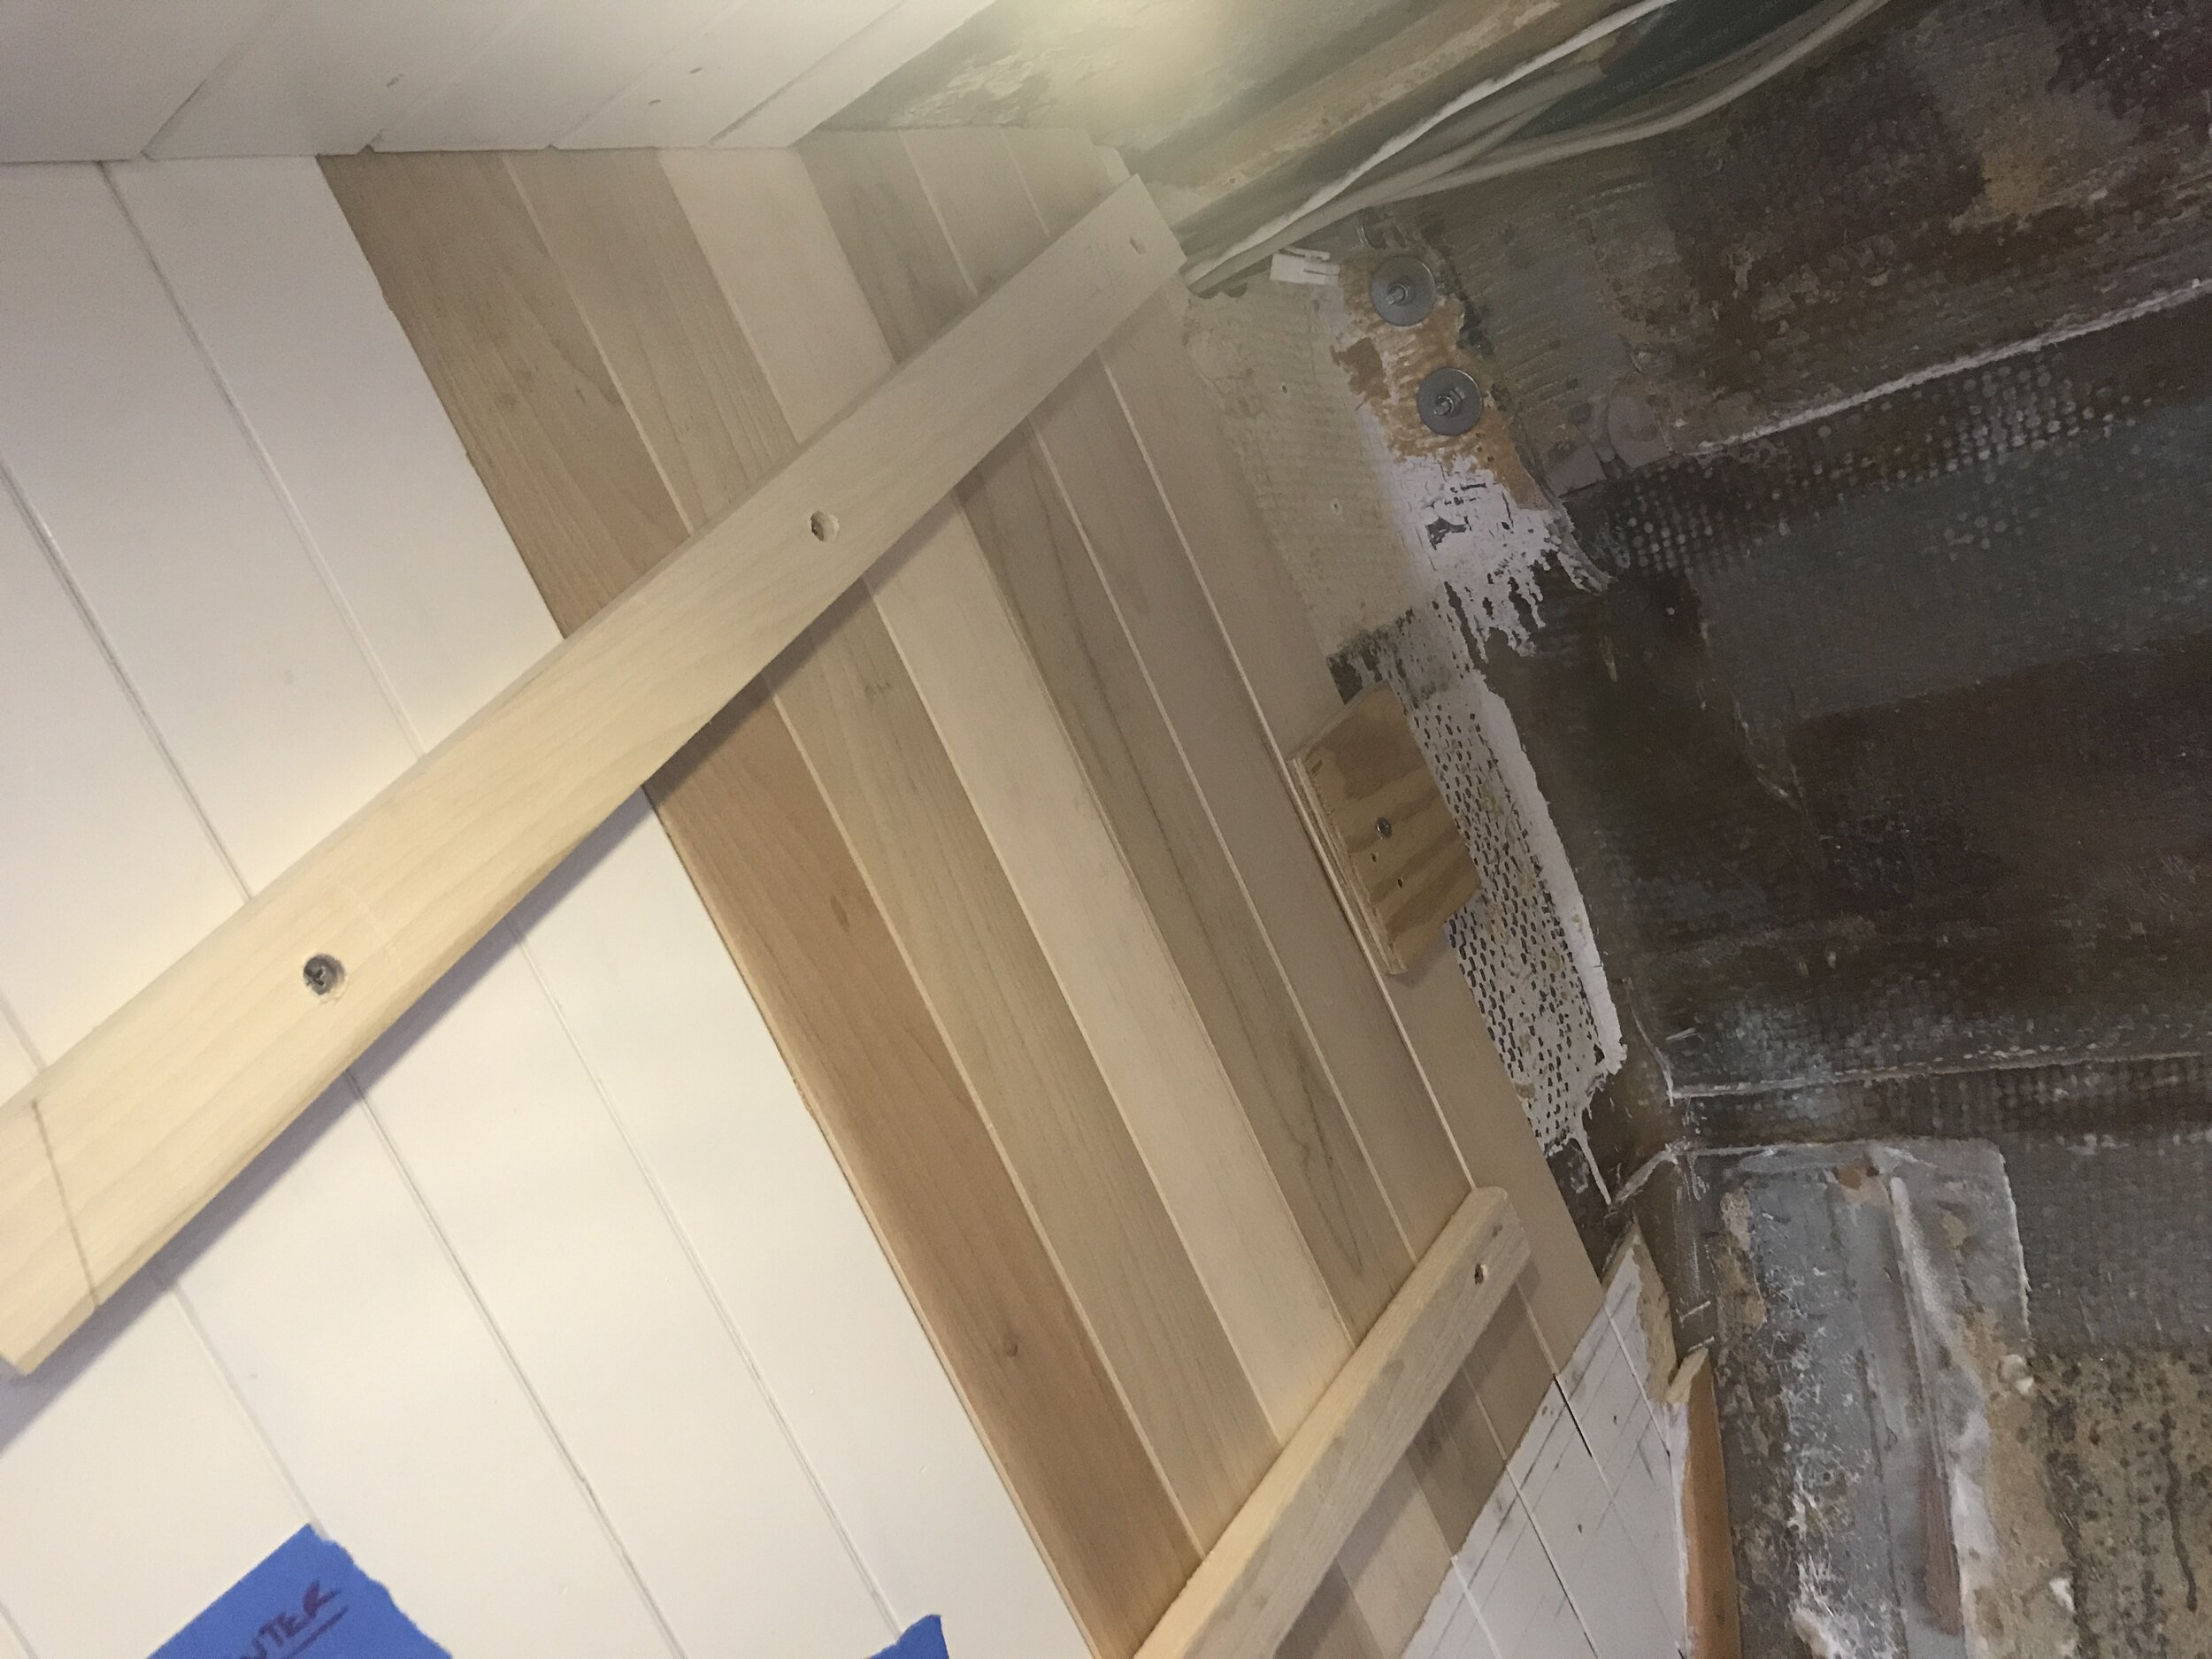
Jeremy ripped some poplar into strips that he angled the edge off to create a grooved look, and we installed that on the deck underside and the bulkhead on the port side. That worked pretty well.
Looks pretty good! (cross piece there to hold the strips in place while the glue dries)
This took a while, though, between ripping the wood to the right thickness and then routering each side, then affixing each piece individually to the bulkhead. We’ve got a lot of this to do in the chart table/quarterberth, engine space, and the galley area - is there a faster way?
What about taking a piece of plywood (which will be used to make the bulkheads anyway) and just running a groove through it with a router? How will that work?
Guide the router along a straight edge
We tested this on a scrap piece of wood and held it against the bulkhead before going whole hog on the idea. It works beautifully! There was a little trial and error to find the right depth of the router, but that’s why you test it all first.
Measure the spacing between the existing grooves so the visual will be as close as possible.
Spend a bit of time laying out the measurements on the plywood. Jeremy figured out where he had to place the metal ruler to make the grooves be where we wanted them; the markings you can see on the board are actually the lines for where the ruler will be clamped.
Use clamps to hold the ruler in place - you do NOT want to try to freehand this. Having a second person to help with vacuuming and also to move the clamps makes this go more smoothly.
Carefully run the router to create each groove. A guide (we used a metal ruler) is imperative. Have I mentioned how important it is to have a way to guide the router?
Paint and install (or install and then paint, depending on your preference and where the thing is going in. Where we needed to fiberglass, for instance, we could not paint before installation.)
A few things to note:
It’s way easier to do this cheater groove stuff BEFORE installation, when you can work horizontally and on saw horses. Running a router vertically would be a challenge I don’t even want to contemplate.
In addition to running the grooves before installation, cut any openings out. Same reason.
There will likely still be places we need to do individual strips, like under the deck. That said, we’re likely to experiment a little to see if we can run these router grooves on thinner plywood (if we have plywood that matches the thickness of the existing under deck strips) as this saves SO MUCH TIME.
The router bit Jeremy used is a v-notch one, set at a fairly shallow depth to mimic the groove on the existing bulkhead finishes. You should experiment to see which bit at what depth works for you.
A faster way to make the boat beautiful inside? We’ll take it!


