
Rigging Stuff
One of the big projects for Mischief involved her rig. The immediately obvious issue was her mast, which had about 3 inches of corroded aluminum sitting in a pool of water in the bilge. Besides that challenge, we had to replace chainplates and all the running and standing rigging.

Sitting in water, with wires exiting the bottom. Not a good combination.
Jeremy dealt with the mast by cutting off the compromised section and building a solid mast step. The step served both to elevate the mast from any water and to make up for the missing length. He also painted the mast where it comes into the cabin.

Working on the mast at ground level
The running rigging, all the halyards and sheets for the sails, spent weeks in a bucket of soapy water before being run through a washing machine a couple of times. This largely eliminated the dirt, but we realized the halyards in particular are oversized for the sheaves they run through. After comparing prices and line from lots of different places, Defender emerged as the clear winner price-wise, and a large order arrived in September. Jeremy got really good at splicing double braid as he replaced the halyards one at a time. The old halyard material was used for sheets.
This left the chainplates and the standing rigging. The chainplates we had custom fabricated for us by the same guy who did the work for Calypso’s hard dodger in 2022 - in retrospect we could have had bronze chainplates fabricated by Port Townsend Foundry for about two thirds the cost. Since all of the chainplates are external, they need to be fully polished if they are fabricated from stainless steel; this adds a tremendous amount of labor and cost. Bronze doesn’t have to be polished and traditionally is not. The lesson there? Take a lot of time deciding on the scope of the project before committing to a starting point. We’d initially thought we would just replace a couple of the chainplates but wound up doing all of them.

Jumble of old chain plates, ready to be replaced
The final piece was the standing rigging, all the wires that hold the mast in place. These wires have fittings on either end to attach to either the mast or the chainplates; the fittings can be machine-pressed swages or hand-installed mechanical fittings like Sta-Lok or Norseman. Bristol Channel Cutters have some fairly complicated rigging, with no fewer than SIXTEEN pieces of wire involved. Given the age and maintenance issues we found with the boat in general, we elected to replace all of it, and we hired that work out, with swage fittings on both ends. We could have done it ourselves but frankly were running out of time. This is a job that is simple with no hidden gotchas, unlike many boat projects, so ostensibly was a good one to hire out.

Lots of stresses on a mast. Standing rigging keeps it up!
Even if you’re not dealing with a project boat like Mischief, if you own your sailboat long enough, you’ll eventually have to replace the standing rigging. These wires (or line, or rods) hold up the mast. Many insurance companies have a flat 10 year requirement to replace; if you’re buying an older boat, that part of the boat may well be original. This is not a cheap project and it’s one that can have some dire consequences if done incorrectly.
There are many options when it comes to standing rigging replacement. You can opt for the newer technology and weight savings of Dyneema. Some people love rod rigging. A common option for many boats is rigging made of swaged wire. This is what we had on Mischief and what we opted for as replacement.
Standing rigging replacement should be a fairly cut and dried an easy outsourcing job. Making the rigging pieces involves cutting wire and finishing off both ends, usually with swages or a combination of swages on one end (mast head) and mechanical fittings (at the chainplates). There are no hidden gotchas, no gremlins waiting to pounce or reveal themselves. Still.
There are a number of questions you should ask before committing to having a given rigging shop build your new standing rigging.
What kind of machine are you using for the swages?
Rotary (Fenn is one brand) or hydraulic/passive die swaging (Wireteknik is one brand) machines are quite expensive for a shop to buy. They are more precise and rely less on operator technique. A shop with a hydraulic (aka passive die) machine means serious business.
A machine with manual or motor driven dies (Locoloc or Loos are two brands) is far less costly and far more prone to operator error. If a shop is using a non-hydraulic machine, it’s not necessarily a deal breaker, but you’ll have to be more careful in both asking questions up front and in inspecting the final product.
How many bent swages can I expect on my final rigging?
Swages are a straight connection between the fitting on the mast (or chainplate) and the wire. They’re meant to provide even distribution of load to each strand of wire.
Bent swages (sometimes called “banana” swages) can cause premature rigging failure as the loads are not applied to all strands of the rigging evenly.
If a shop does not think bent swages are a big issue, this is a big red flag.
If the shop says there will be no bent swages, get that in writing.
How many times through the machine will you run the swages?
Think of the swage as being rolled or pressed around the wire. Like any metal, it can be subject to work hardening, where repeated stresses weaken the metal.
Once through the machine is required. Twice is generally the standard. Three or more times and you’re in the territory of work hardening - this may result in premature cracking of the swages and again premature rigging failure.
Can you show me rigs you have done?
Ideally you’ll see masts on the ground, so you can inspect both the masthead side and the chainplate side. Look for any bent swages!
If you can’t inspect masts with installed rigging, ask to speak to recent clients as well as ones from previous seasons. You may also be able to inspect finished rigging before it’s installed.
How do you bill the work?
Building standing rigging is not an “it depends” kind of boat project. The work should be billed as a per swage (or per piece of rigging), not on an hourly basis.
If the work is billed on an hourly basis, insist on receiving a hard quote, not an estimate. Some yards and their billing software is all based on hourly increments so they’re unable to do it differently - but there should be no surprises in how long it takes to build a piece of standing rigging.
What happens if there are issues with my standing rigging?
Possible issues include bent swages, incorrect wire size, incorrect wire length. Some of this you might not discover until the mast is stepped, making rectifying the situation more challenging.
If the answer around bent swages is “we’ll re-roll the swage” it’s a red flag (see question 3)
Basically, a shop should do what’s required to make the rigging right - with no additional cost to you. This might mean new fittings and new wire, and certainly new labor. This will take time that may eat into your cruising season, and this is unlikely to be compensated. It’s better all around if the work is done correctly the first time.
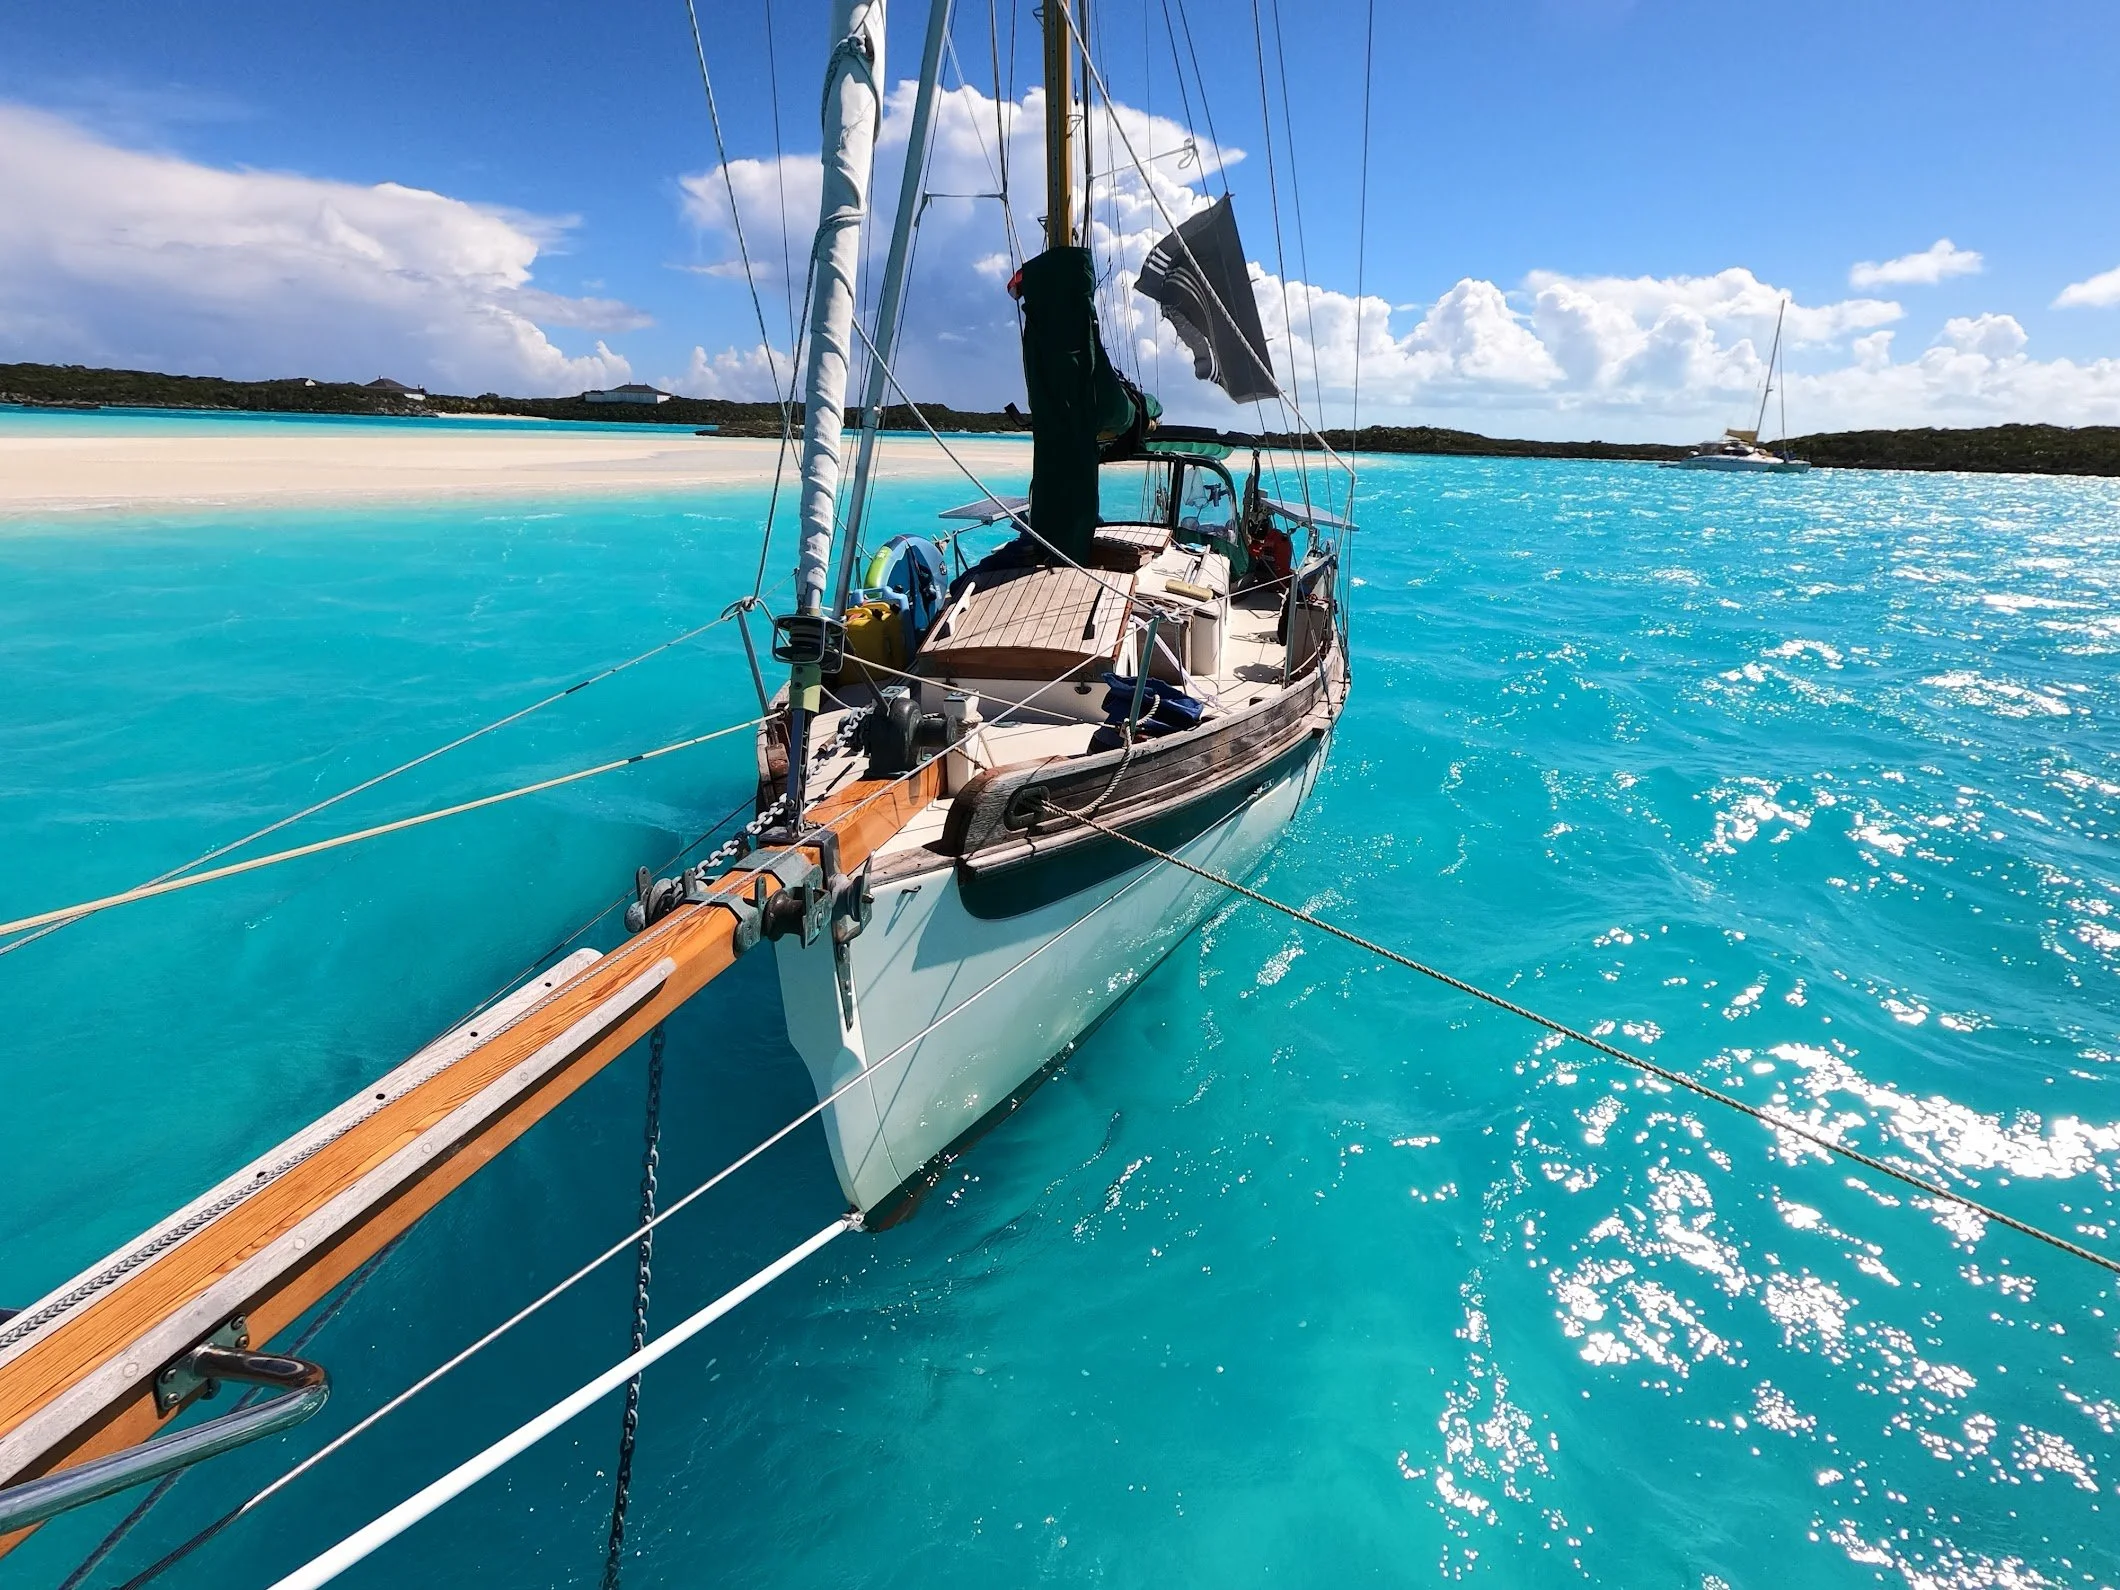
New standing rigging installed
Once the rigging is all built, you get to install it, tune it, and then go sailing!